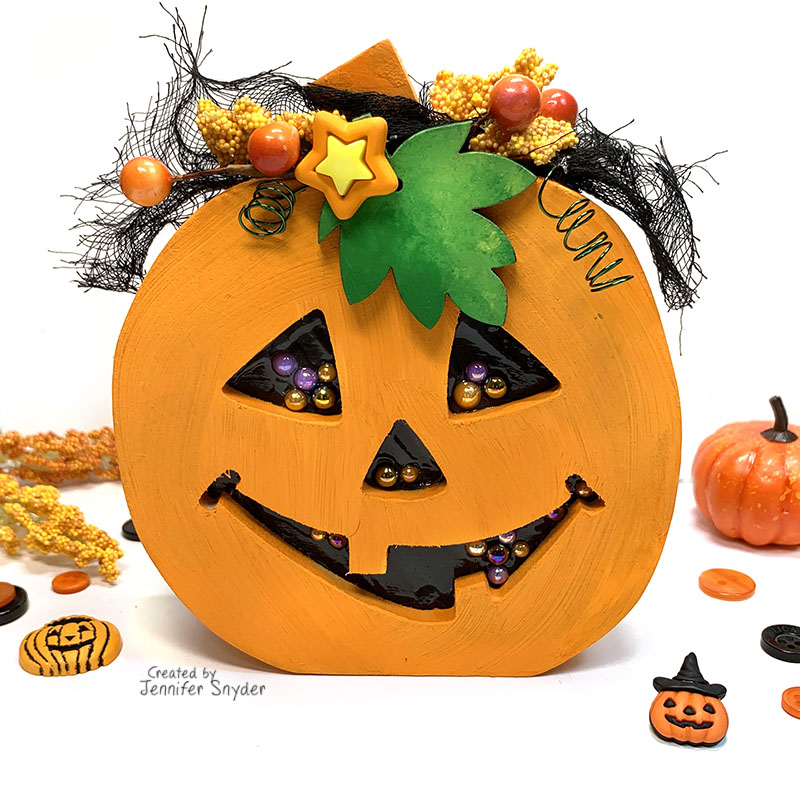
Autumn Pumpkin DIY Home Decor with Instructions
I love everything about autumn, from the warm rich colors to the bountiful harvest images. With the change of seasons comes a change in home decor for my front door. I think the Amazon, UPS, USPS, FedEx and Pizza delivery folks need something new to look at when they drop off goodies at my front door.
I created a decorative wooden pumpkin decor piece using an array of wonderful products:
Scroll down to see instructions and tips that I am sharing to help in your creative process.
Paper Choice
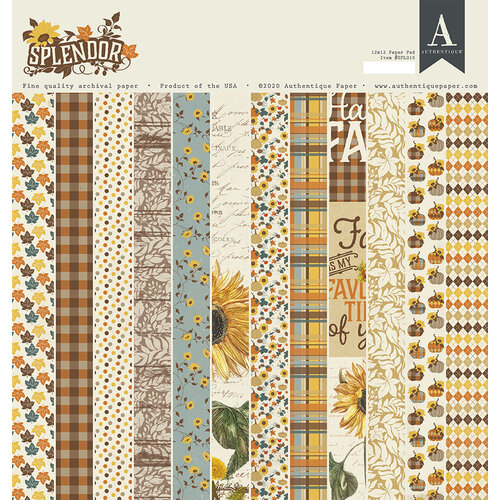
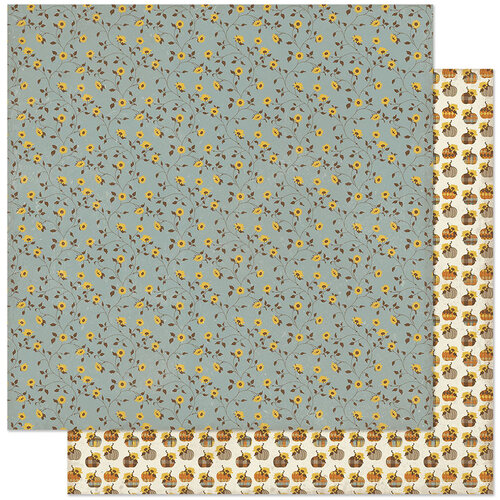
The paper collection used today is Authentique's new
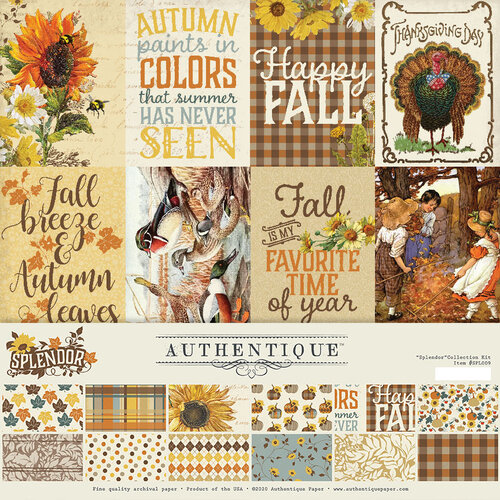
Splendor collection, filled with the gorgeous colors and images of autumn. I also added banner and sentiment accents from
Authentique's Elements sheet, although it was difficult to choose which elements to use because the whole sheet is spectacular.
Below are the papers used from the collection.
The Wood Pumpkin Decor Shape
Creative Embellishments, popular world wide for their chipboard and shaker designs, has added a new product line featuring large wood home decor pieces in a variety of seasonal and non-seasonal shapes. These are perfect to freshen your home, create as a holiday table centerpiece, or to gift. As I mentioned in my opening, my pumpkin will welcome all the delivery people to my front door.
DIY Instructions and Tips to Help You Create
Next step - papering the front.
The wood pumpkin makes a great template for covering in patterned paper but I wanted to keep about 1/2 inch of wood edge showing. To do this, I flipped the pumpkin over and traced the shape onto the
Authentique's Splendor Paper - Five using
a pencil. Take no risks when tracing.
Once the shape was cut, I used a ruler and measured 1/2inch marks around the entire back of the patterned paper to resize and reduce the patterned paper allowing for my wood edges to show.
Will it be perfect? Probably not. Does anyone notice? Probably not.
Don't stress over the small stuff.
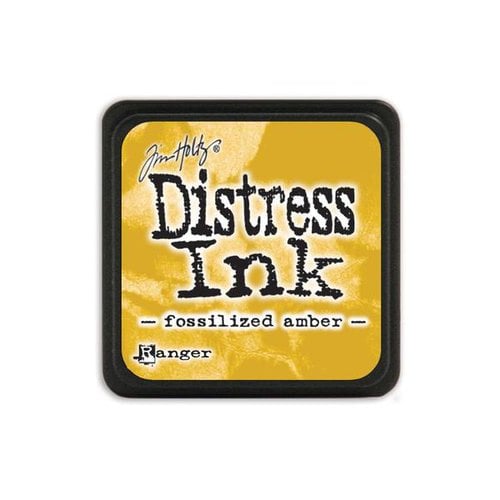
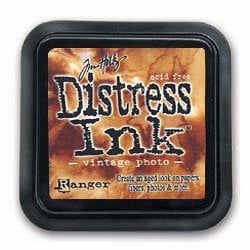
This is what is will look like after the resizing. I love the wood showing. I did ink the edges of the patterned paper with
Distress Ink in Vintage Photo.
Decorative Dies
Dies are great to use in cardmaking, but don't hesitate to pull them out for DIY home decor projects as well.
The sunflower oval (
Authentique Paper - Splendor Collection - sheet One) will be the center piece of the pumpkin and I want this to be dimensional. I also need this piece to be durable. I also want the delicate edges of the oval top be protected so I reinforced the oval with a rich brown sheet of cardstock and trimming the excess (very close trimming).
To make the sunflower oval pop, I added foam to the back for dimension.
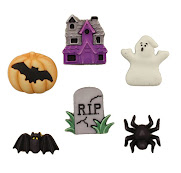
The 3D Button Embellishments
Buttons Galore has an ever expanding selection of 3D buttons perfectly sized for crafting projects.
These buttons happen to have plastic shanks on the back. They can be cut off quite easily, however often I like to create wire "picks" and use the wire to help secure the button to the project.
Thank you for stopping here today. Happy crafting and decorating.
Thanks and Happy crafting.


 .
.