Showing posts with label grapes. Show all posts

Saturday, November 2, 2019

Wine Glass Shaker Canvas -Creative Embellishments and Buttons Galore

Wine Glass Shaker Canvas

Welcome to the Month of November. 
While everyday is a day to be thankful for the blessings in our lives, November is a month set specifically for this purpose of thankful reflection. 

I created a 5"x 7" shaker canvas for my own reflection of thankful gratitude - inspired by Creative Embellishment's  November Challenge. 
"The best wines are the ones we drink with friends."

This is the idea board for November.  The twist on the challenge this month is to use wood someplace in the piece. I added a wood frame for my canvas.   I picked this particular frame because it looks like cork.

The Creative Embellishments chipboard used on this canvas are shown below: 
*********************************************************************************
 
                     Wine Glass
grapevines
*********************************************************************************

The Chipboard Treatments
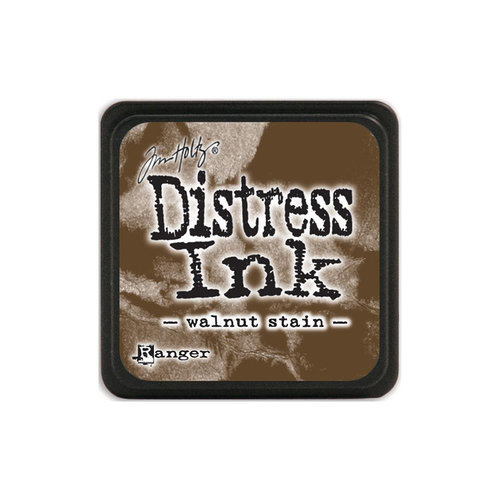
- leaves inked with Walnut Stain Distress Ink and dotted with gold paint.  
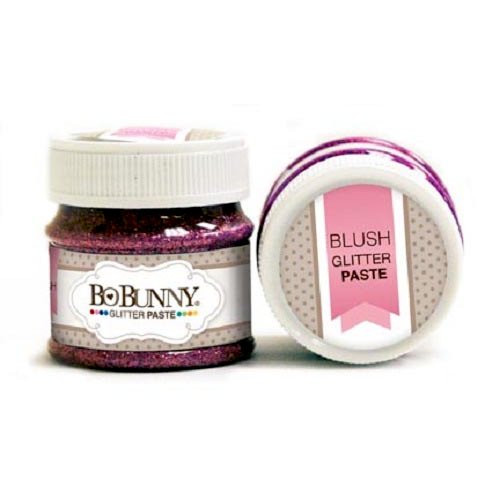
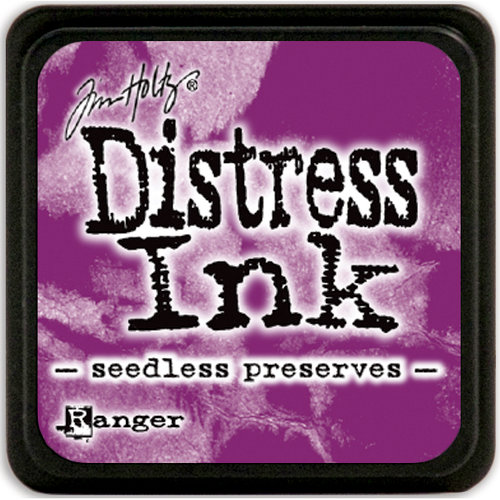
- grapes inked with Seedless Preserves Distress Ink and then dotted with BoBunn' Blush Glitter Paste. 

The Wine Glass Shaker  top layer was embossed with Stampendous Aged Wine Embossing powder.   


The Shaker Mix
The wine glass shaker has been filled with the gorgeous Plum Sequin mix from Buttons Galore The plum sequin mix was also used as an  accent in the background of the canvas.
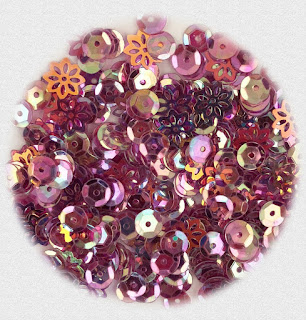
Plum  Sequin

Creating the background of the canvas
The canvas board is 5"x7" and was created by layering different mists, allowing each layer to dry one at a time, until satisfied.  I also dabbed a little of the Seedless Preserves Distress Ink .  

Once the background colors were complete and totally dry, I glued the shaker in place, and dabbed Prima's Unicorn paste on the canvas to air dry.  Unicorn paste leaves a beautiful  texture and glittery sheen and shine when it dries.  
Finnabair Art Extravagance Effect Paste 100ml Jar-Unicorn


Adding the Sentiment to the Canvas
Adding a printed quote is super easy. I type my desired sentiment on a word document and print the appropriate sized wording on my computer (regular copy paper is fine).  The edges of the sentiment are inked to make them pop against the canvas board. 

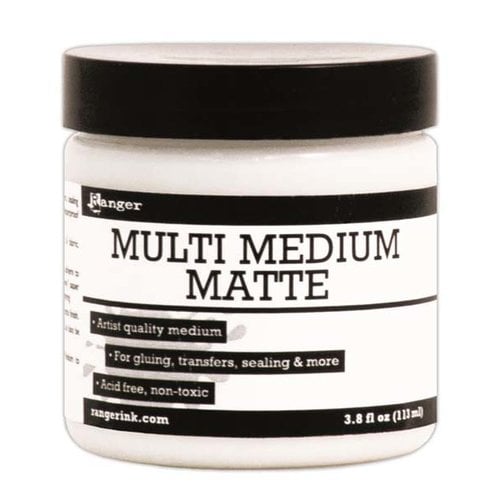
The reason why everyday copy paper works well is because I attached the paper to the canvas using  Clear matte Gel Medium - Multi Medium (or even Mod-Podge) - as the adhesive.  The gel medium makes the paper stiff and durable. 

Paint a layer of the clear matte gel medium on the canvas, add the paper sentiment, and then paint another layer of clear gel medium over the paper.   This adheres the paper permanently, dries clear, and hardens the paper.  


Thank you for stopping.  
Shop Here:
*********************************************************************************
Creative Embellishments Shakers
Wine Glass
grapevines


*********************************************************************************
Ranger Ink - Tim Holtz - Distress Ink Pads - Mini - Seedless Preserves
Plum  Sequin
Buttons Galore - Plum Sequins PS748
Finnabair Art Extravagance Effect Paste 100ml Jar-Unicorn
*********************************************************************************
Ranger Ink - Multi Medium - Matte
BoBunny - Glitter Paste - Blush
Ranger Ink - Tim Holtz - Distress Ink Pads - Mini - Walnut Stain

*********************************************************************************

Tuesday, July 3, 2018

Two Different Looks -Grape Vine Cards With DIY Tutorial


Today I'd like to share a quick DIY tutorial and two different perspectives using the same chippies.  

Scroll down to see my step-by-step DIY tutorial showing how I finished the grapes and grapevines.  

I've selected the gorgeous detailed Grapevines chipboard from Creative Embellishments to use as perfect examples of how the same chipboard can enhance different papers for totally different looks. 

I am also going to show my step-by-step (easy) process to making these grapevines look diVINE - and almost fresh picked straight from the vineyard

Below is an image of the fabulous detailed Grapevine chipboard.   The package  has so many pieces in it - such a great value.   I was able to make two cards from the same package.  


Here is the first card.  I picked light cheery purple papers for a more contemporary look.  
The papers are from Stamperia - Stamperia paper - Lilac Flowers collection.  


I layered a grape leaf by using a bit of foam on the back to give it dimension.  


Step-By-Step
It's true -  I cannot paint....At all.  All those little lines demanding I stay neat and tidy and not stray outside them. 
 The problem is really two-fold.  1. I don't want to cover the gorgeous detailing of the chipboard pieces.  2. My problem and frustration also happens when the paints bleed on the chipboard.   

 Now I just the "Jen Cheat Method" of chipboard painting  detailed chippies.   Super easy.

__________________________
The image below has the steps I followed to created the look of my grapes and vines.  

Step 1.  I painted the leaves with  Ranger Tim Holtz Distress Paint in Forest Moss. Then I added some brown  to the vines and veins on the leaves.  
I used Dark Chocolate Liquid Pearls .  I find that products like Liquid Pearls/Stickles and Nuvo Crystal Drops are easy to use because they have a nice fine tip for detailed work, do not bleed and run and add great dimension to the chipboard.  I am not skilled with a paintbrush so anything I can do to make my life easy is the path I'm going to take. 

Step 2.  Next I wanted to add some highlights to the leaves and leaf veins so I added some light green Tonic Nuvo Crystal Drops - Gloss Green Apple.  

Step 3.  I added dabs of Lime Green Stickles Glitter Glue, then after all is dry, I inked the edges of the leaves with Ranger Tim Holtz Distress Ink -Walnut Stain 


Step 4.  Ahhhhh those ity-bity grapes clusters......have I mentioned I'm not skilled with a paint brush?  Oh yeah, I sure did. So I used the flat end of a wood skewer to dab a dot of paint on the grapes.  Soooooo easy and quick.  


 Step 5.  To give the grapes some dimension, I added Stickles to the grapes.  A bunch of grapes on the vine may have different shades of grapes and the different Stickles does just this - adds a few varying shades of grapes. 

Make sure to let the Stickles dry!  

Looking for more DIY chipboard painting "cheats"?  


Here is the second card I made with a vintage flair.  
The little "love" tag came from Stamperia's Old Lace 12x12 paper that I used on this project. 
The grapes and vines have a different feel on the Old Lace paper.  


Where to shop? 
You can shop for all your Spellbinders dies right here .
You can click here Tammy Tutterow.
You can shop for Stamperia papers here

Stamperia paper - Lilac Flowers collection
Stamperia's Old Lace 12x12 paper
Ranger Tim Holtz Distress Paint -  Forest Moss
Ranger Liquid Pearls - Dark Chocolate
Tonic Nuvo Crystal Drops - Gloss Green Apple
Stickles Glitter Glue - Lime Green
Ranger Tim Holtz Distress Ink -Walnut Stain
Prima Art Alchemy - Metallique Plum Preserves
Stickles Glitter Glue - Lavender
Stickles Glitter Glue - Diamond