St. Patrick's Day - Shaker Cards with Cheer
Happy start to a new month. Jennifer O'Sndyer here celebrating a month of cheer and festivities that include St Patrick's Day on the path to Easter and Spring. I'll be featuring those themes all month, but today is a focus on St. Patrick's Day.
While not of Irish descent myself, my husband plays in an Irish band so it's always a wee bit Irish in the O'Snyder household.

Scroll down to see some fun tips and techniques to create your own DIY shaker mug and pot of gold.

The collage above is the image from the Creative Embellishments March Challenge. My inspiration was the magnificent purple and green colors and the magical aura in the images. Green...purple...magic...in March??? That says St. Patrick's Day to me and shakers are the toast of the month.
While not of Irish descent myself, my husband plays in an Irish band so it's always a wee bit Irish in the O'Snyder household.
I've created some cards I wanted to share before sending to friends. They were inspired by the March Challenge at Creative Embellishments.
This month Creative Embellishments is also collaborating with Rinea Foiled papers. Look for a variety of ways to use the fabulous Rinea products on projects. 
The collage above is the image from the Creative Embellishments March Challenge. My inspiration was the magnificent purple and green colors and the magical aura in the images. Green...purple...magic...in March??? That says St. Patrick's Day to me and shakers are the toast of the month.
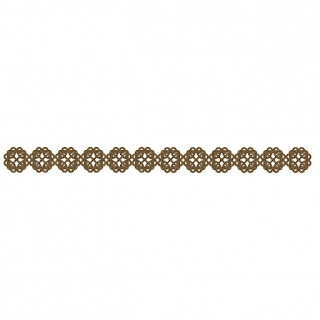
My Creative Embellishments chipboard pieces featured today include: Root Beer Glass Shaker and the Shamrock Shaker enhanced by the Shamrock Border and Celtic Border.
Have you checked out Creative Embellishments ever growing selection of shakers?
Have you checked out Creative Embellishments ever growing selection of shakers?
*********************************************************************************
 |
|  |

*********************************************************************************

DIY Shaker Mug 'o Suds - Tips and Techniques 

Step 1.
You can see the rich brown foil paper in the mug from Rinea Autumn Foiled Paper pack. I used the textured foil for the liquid in the mug and shiny foil for the base and handle of the mug.
Step 2.
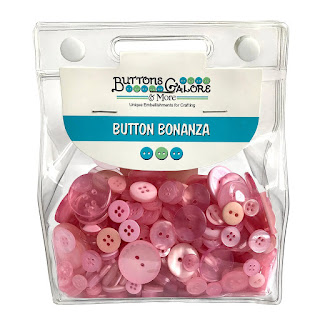
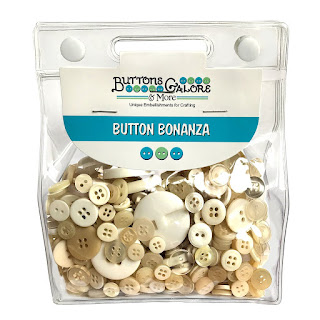
Shaker cards come "to life" when filled with fabulous shaker mix from Buttons Galore. The mix I selected for this mug is really cool because it looks like more bubbles inside the mug. It's Buttons Galore - Shimmerz Shaker Mix -Desert Sky.
To add dimension and create suds and frothy foam on my mug, I filled the shaker and added the acrylic window to layer as if the shaker were completed. Normally the shaker is done at this point.
In my opinion, the foam is most effective when added to the top layer of the mug - because foam typically froths over the glass.
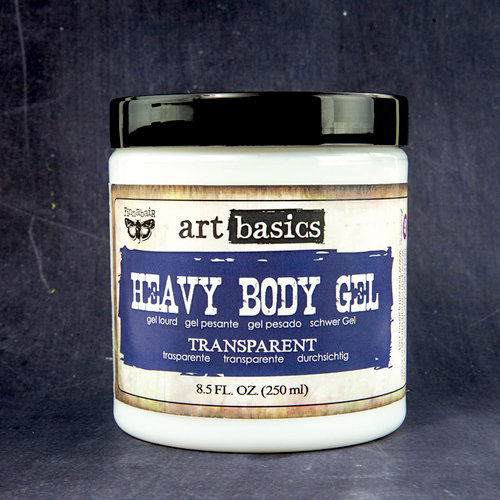
I slathered a generous amount of transparent Heavy Body Gel (any brand works) to the shaker. This product acts like glue (concrete) and dries absolutely clear with a matte finish. The beads, from Buttons Galore /28 Lilac Lane - Embellishment Bottles - So Shiny, settle nicely into the gel medium and hold perfectly.

The dried results are perfect; sudsy, frothy, foamy and delicious.

*******************************************
Here is the second card in honor of St. Patrick's Day.

The Shamrock is backed with the silver foiled paper from Rinea Metallics Foiled paper set and filled with Buttons Galore - Sparkletz - Lucky Charmz shaker mix.


Thanks for stopping here. Check out all the Rinea products.
Rinea’s Store>>https://www.rinea.com/You can see the rich brown foil paper in the mug from Rinea Autumn Foiled Paper pack. I used the textured foil for the liquid in the mug and shiny foil for the base and handle of the mug.

Step 2.
Shaker cards come "to life" when filled with fabulous shaker mix from Buttons Galore. The mix I selected for this mug is really cool because it looks like more bubbles inside the mug. It's Buttons Galore - Shimmerz Shaker Mix -Desert Sky.
 |
Step 3. |
To add dimension and create suds and frothy foam on my mug, I filled the shaker and added the acrylic window to layer as if the shaker were completed. Normally the shaker is done at this point.
In my opinion, the foam is most effective when added to the top layer of the mug - because foam typically froths over the glass.
I slathered a generous amount of transparent Heavy Body Gel (any brand works) to the shaker. This product acts like glue (concrete) and dries absolutely clear with a matte finish. The beads, from Buttons Galore /28 Lilac Lane - Embellishment Bottles - So Shiny, settle nicely into the gel medium and hold perfectly.

The dried results are perfect; sudsy, frothy, foamy and delicious.

*******************************************
Here is the second card in honor of St. Patrick's Day.

The Shamrock is backed with the silver foiled paper from Rinea Metallics Foiled paper set and filled with Buttons Galore - Sparkletz - Lucky Charmz shaker mix.
*********************************************************************************
*********************************************************************************

The Creative Embellishments chipboard Shamrock Shaker has been adorned with fun St. Patricks's Day icons...which are 3D buttons from Buttons Galore modified to fit the celebration.
I used the Glitter Shamrock 3D buttons, the caldron from Buttons Galore - 3D Buttons - Bewitching set, and finished off with the rainbow from the Biblical Symbols 3D button set.

*********************************************************************************

*********************************************************************************

Thanks for stopping here. Check out all the Rinea products.
Rinea’s Blog >>https://www.rinea.com/blogs/rinea-inspires
Shop Here
*********************************************************************************
|
| |
*********************************************************************************
 |
*********************************************************************************
 |  |
*********************************************************************************
 |
|  |
*********************************************************************************
 |  |
|
*********************************************************************************