Showing posts with label Tutorial. Show all posts

Monday, August 15, 2022

Christmas Shaker Card - Spellbinders - Santa Lane Collection (with instructions)


Spellbinders likes helping us prepare for Christmas early with some fabulous holiday card making collections and die sets.  I appreciate this because it cuts down on the last minute rush in December to get cards created leaving me time for family and friends. 

I have included some instructions on creating this card - scroll down.  

Today's card features products from Spellbinders Santa Lane Collection and Tinsel Time Collection  (scroll down for product links and descriptions).   

 Here are some of the products for sale individually from the collection.  Yes - you do NOT need to buy an entire kit collection - just buy what you want from the set.  


The shaker frame was created using another new die from Spellbinders - Seasonal Motif Labels from Becca Feeken.  I used Spellbinders Fall Label Motifs to create the frame by cutting base layers from thin chipboard (cardboard) and gluing them together. 


The paper choice today  

Here are the Instructions to create this shaker: 


Saturday, August 6, 2022

Americana Flag Shaker Card - Hope Believe Cherish


Americana never goes out of style.  Today I'm doing a few different things with Americana - showing how an "Every Day" collection can be transformed into an Americana style, and made into a cute shaker.  

So let's get shakin' - scroll down and I'll share some simple instructions to make this shaker. 


The paper featured today is from Maja Design- Everyday Life 12x12 paper pack - from Sweden. It's filled with great summer/autumn images and colors.  

Below is a simple image of how easy this was to create.  

I made the base card, then cut out the square to be used for the shaker.  The tulle netting will be the window for the shaker.  Yep, tulle netting is great to use for simple, quick shakers because it has "slack" or allows for space to let shaker mix move freely. 

Instructions: 

1. Cut a piece of tulle netting big enough to wrap around the paper square.

2. Wrap the tulle around the paper square like a present,  then secure the netting on the back with 

double sided tape - leave one side open for filling. 

3. Fill with fun shaker mix  ( I used Buttons Galore and More - Coconut Crystalz CRZ100and make sure all sides are glued/taped down so mix doesn't spill out.


Shaker Mix and Finishing Touches on the Card

Finishing touches help complete the card and give it that custom look.  It's all about the details - they do make a difference.  The shaker mix used today is Buttons Galore and More - Coconut Crystalz - beautiful, shimmery gems to represent the stars in the flag.  

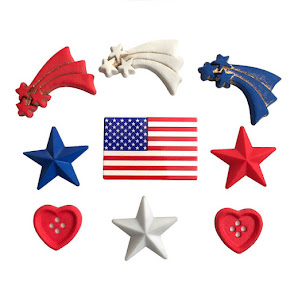
The next little finishing topper is a 3D button from Buttons Galore and More - Stars & Stripes. While these buttons have plastic shanks, they are quite easy to cut off so the button can be glued flat onto a project. 


I also cut some of the journaling words from the Maja Design paper " Journaling - Everyday Life collection".  This sheet has a lot of wonderful words for so many projects.  


Thank you for stopping here to visit.  

Wednesday, July 27, 2022

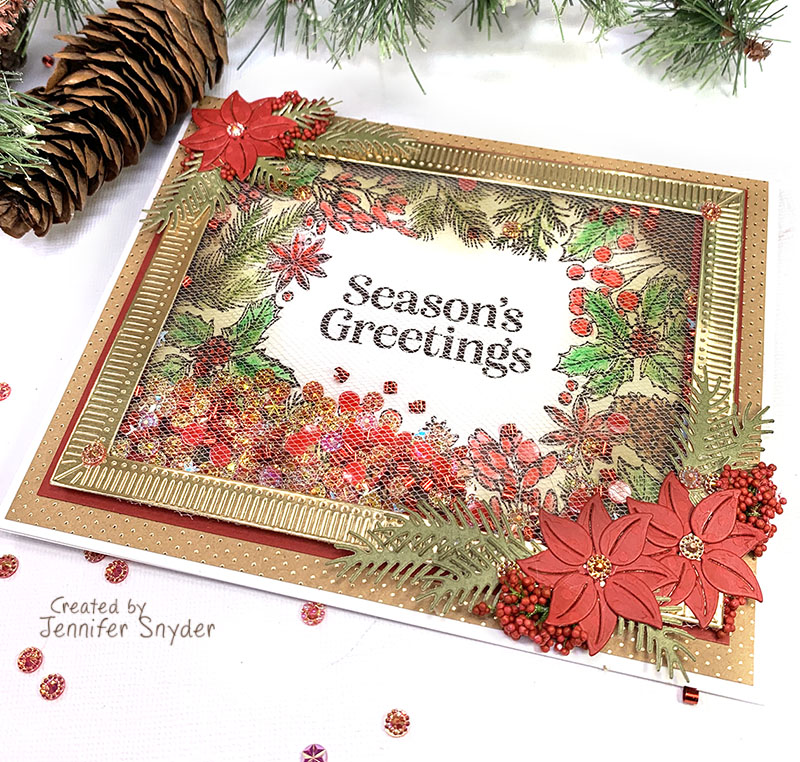
Celebrate Christmas with Festive Shaker Cards - Spellbinders (with Instructions)


 Spellbinders is celebrating Christmas in July.  My craft table is shaking with holiday festivities because I am making shaker cards! 

It's time to Celebrate the Season (with Spellbinders newest collection).   Scroll down and I'll show you how I made this.  

 The shaker card featured today use the dies shown below:Spellbinders Winter Welcome Sled Etched Dies from the Celebrate the Season Collection  and Spellbinders Balsam & Berries Clear Stamp Set from the Celebrate the Season Collection

The frame around the card was created using a die set that is a "must have" in your collection.  Spellbinders Fluted Classics Rectangles Etched Dies from the Fluted Classics Collection by Becca Feeken


Here are some other products included in the collection:  

Spellbinders Mix & Match Holiday Greetings Etched Dies from the Celebrate the Season CollectionSpellbinders Stylish Merry Christmas Etched Dies from the Celebrate the Season Collection


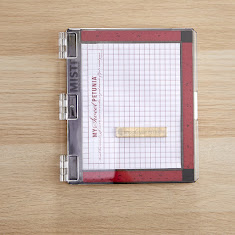
The secret to perfect stamping starts with a stamping platform.  My favorite is 
My Sweet Petunia Mini Misti - Most Incredible Stamp Tool Invented.  Why do you need a stamping platform?  Because you can keep stamping an image until it's absolutely perfect.  I often need to stamp an image a few times to get complete coverage.  The MISTI helps provide perfection. 

I used Archival ink because it doesn't bleed when I use water color pencils to color the images.   


Instructions
Making shaker cards is quite easy when using tulle netting.  The netting is super inexpensive and I prefer to use white tulle.  

I cut a frame using Spellbinders Fluted Classics Rectangles Etched Dies from the Fluted Classics Collection by Becca Feeken because this particular frame has a very wide edge - which is great for hiding double sided tape.  

I taped the tulle to the frame to create the shaker window.  


Next step
Once the tulle is securely in place, add foam tape around all sides  - leaving no spaces for shaker material to fall out. 


Final Steps
Add the shaker mix and close the front shaker window.  Yep it's that easy!


The Shaker Mix
 The shaker mix is from Buttons Galore and More - Merry Mimosa DooDads.    
This is a beautiful, vibrant combination of iridescent confetti and iridescent flat backed crystals.  
Here is another card I made using Spellbinders "Celebrate the Season" collection.  You can see this post here.  


Thank you for stopping here to visit.