Showing posts with label Mixed Media. Show all posts

Friday, May 1, 2020

Coffee Because Adulting is Hard - Shaker Home Decor

Coffee to shake things up 


Hello crafty friends. Need a coffee break?  Time to shake things up a bit.  Today I'm here to share my coffee lovers DIY canvas home decor.

 Made for the Creative Embellishments May challenge, the Coffee Because chipboard sentiment captures the heart of many coffee lovers.  Coffee First...then let the creativity start flowing.  

Above is the inspirational image for May's challenge and the twist this month is to add numbers.  As always, it's yours to interpret creatively.  

My take on the challenge board was the colors, and the way  creativity flows from a source.  The source for me would be coffee.  The twist this month is to add numbers.  I stamped numbers on the canvas but my magic number is three.  I printed a sentiment from my computer, cut it out and glued it to the inside of the coffee cup: 
It’s looking like
   a “3 cup”
    Kind of morning

Here are the chippies I used on the canvas today.  If you haven't checked out the fun shakers from Creative Embellishments, I encourage you to shake on over to the store and check a few out.    
******************************************************************************** 


I added a Creative Embellishments - Coffee Shaker to the canvas because its such an adorable design and perfect for the chipboard sentiment.  

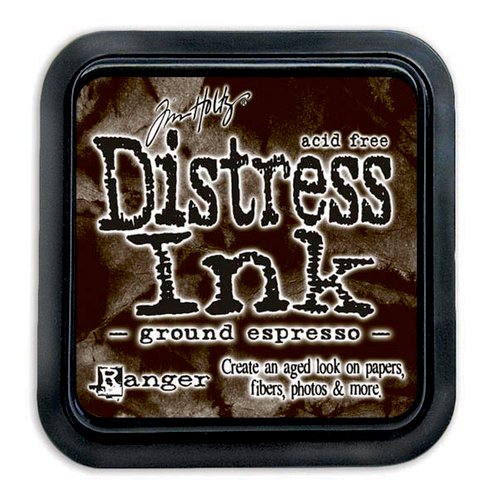
I kept all the chipboard elements very simple and basic by inking with Espresso colored ink. 


The shaker Mix

Ahhhhhhhh....sip.......now for the shaker mix.  I used Buttons Galore - Coffee sequin mix.  Perfect, wouldn't you say?    I also used the coffee sequin mix around the canvas as an accent texture and embellishment. 


I used a simple 5"x7" canvas board for this piece.  
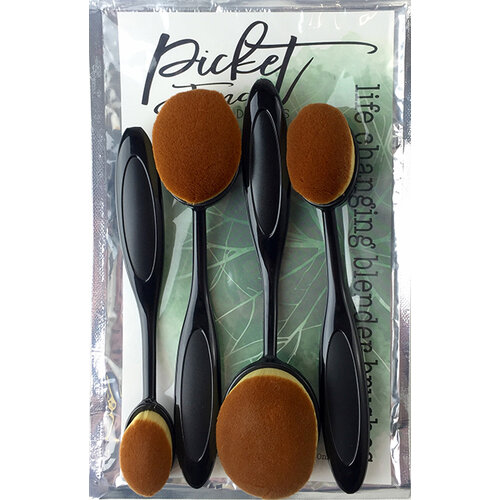
I coated it with gesso to help make the ink blend better.  Next, I started blending inks using Broad Blending brushes because they create a smooth absolutely perfect blend.  

Stamping comes next - and I used my favorite rich brown stamping ink -  Cocoa Powder True Color Ink Pad - because I find the color and coverage is always reliable. 

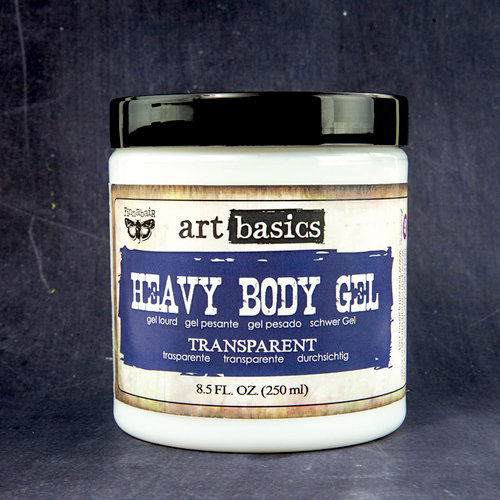
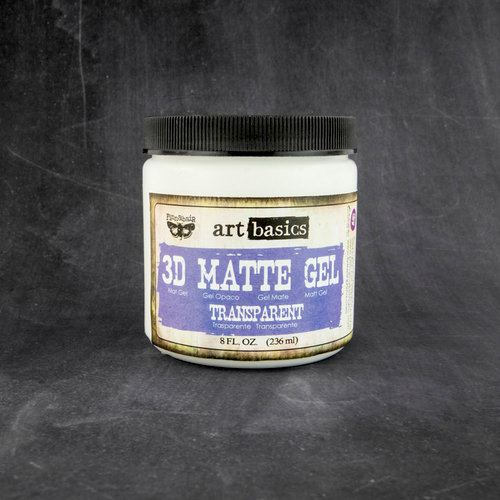
Last step is to add the Buttons Galore - Coffee Sequin Mix using a gel medium to hold the sequins in place.  The gel dries clear and really grabs the sequins. 

*********************************************************************************
*********************************************************************************

Thanks for stopping here today. 
    Please consider joining the challenge at Creative Embellishments this month.  It's fun and no pressure crafting - the way it should be.  


Shop Here:
******************************************************************************** 

******************************************************************************** 

Wednesday, February 12, 2020

Bridal Button Bouquet - Vintage DIY Button Bouquet - Tips and Instructions


DIY Vintage Bridal Button Bouquet 

I had a special request to create an elegant vintage looking bridal button bouquet.  More specifically, the request was to make something soft, elegant, romantic and memorable.  
Challenge accepted!    

 My color palate: soft pinks, rose, gold, cream and white. 
 I scrolled through the multitude of button selections at Buttons Galore and More to find the perfect colors of buttons needed.  


Supplies: 
Buttons, buttons, buttons (and sequins too) 
7.9" smooth Styrofoam half ball 
Wood dowel (for the handle)
Jewelry straight pins 
Floral Pins with pearl heads
Wire for securing buttons 
Drawer pull (gussy up the handle)
Ribbons/lace ( hides the mess)
and the secret to holding everything in place...Heavy Body Gel


The Base
Warning:  If you use a Styrofoam base, please make sure you add the wood dowel handle before you do anything else.  I drilled a hold in the Styrofoam and glued the dowel in place. 
 My first attempt at the bouquet threw caution to the wind and I had to start over.  

My floral bouquet has a homemade Styrofoam base with a wood dowel  handle because I know nothing about floral supplies.  My suggestion is to find the easiest base with Styrofoam for your comfort level.  

The process:  
Here are the Buttons Galore  buttons I used.  I think the Cookie Jar of Fancy Gold Buttons    set the tone for the bouquet. 
*********************************************************************************

Patriotic Slider Pop-up Card

Patriotic Slider Pop-up Card

Patriotic Slider Pop-up Card

Buttons Galore -Cookie Jar - Fancy Gold Buttons CJ100

I spread out packages of buttons on the table and started creating  stacks of two or three buttons each, attached together with wire.  I'd cut the wire and string it through all three buttons and set aside busily making little piles. 

Then I realized...Christmas tree ornament hangers are wire, AND already cut for me.  What a bonus.   Easy to reshape and bend as desired, long enough to go into the styrofoam, and pre-cut. 
 YES - pre-cut.   
Ohhhhh my hands thank you, little pre-cut metal darlings.   


Worth a closer look...
The gold vintage style buttons from Buttons Galore's Cookie Jar full of Fancy Gold Buttons  - a gorgeous, rich collection of various gold buttons; some have jewels, some look vintage, some are shiny, a wonderful surprise in the jar.
Patriotic Slider Pop-up Card


Securing the buttons in place for durability 
The image above shows how tightly the buttons are placed creating  layers.  I left no bare spaces.  

This was a learning experience for me. After completing the bouquet and adding all the buttons, I realized the buttons were not super secure.  I was not confident that the layered buttons would not fall out. They also jiggled around  a bit when gently shaken.  

I tried adding glue to a few of the base layers but it wasn't a solution to the jiggling. I thought adding a straight pin with an  opalescent sequin would help because those pins are really long.    Nope. Not enough.   

What's the best way to keep the buttons securely in place?   
I slathered generous amount of Heavy Body Gel directly on the top of the button right over the sequin.  I also used the gel as a glue and slathered around the button layers to lock them in.    

Why this particular product?  It dries totally clear and NOT glossy.   And because it's super thick it holds the buttons nicely and doesn't drip. 
Prima - Finnabair - Art Basics - Heavy Body Gel - 8.5 Ounces


Finishing the bottom and wrapping the handle  
The image below shows how I created loops of ribbon to finish the base.  Do not use wired ribbon.  It ends up looking sloppy and messy.   I found the satin ribbon to be the best in my opinion. 


All the ribbon and lace are held in place using floral pins with pearl heads.  You can use ling sewing pins as well but they are significantly more expensive. 


Here is one last look at the button bridal bouquet.  Very fun to make and quite satisfying when complete.  

Thanks for stopping here today.  Happy crafting. 

Shop Here: 
*********************************************************************************

Patriotic Slider Pop-up Card

Patriotic Slider Pop-up Card


*********************************************************************************
Patriotic Slider Pop-up Card
Buttons Galore - Sequin Tin - Fairy Sparkle - LL308

Prima - Finnabair - Art Basics - Heavy Body Gel - 8.5 Ounces

*********************************************************************************


Tuesday, February 11, 2020

Wood Love Shaker Decor - Table Centerpiece for Valentines Day - Tips


DIY Decorated Love Table Centerpiece Decor

I'm getting ready for Valentines Day by making a DIY shaker home decor piece to hang on my wall.  To be truthful, I was going to gift this to my friend, but I can't part with it.  Is that bad?  Don't judge me...haaaaaaaa.  We all fall in love with some pieces and can't part with them.  

This was also made for the monthly challenge at Creative Embellishments, with the theme of love.  Below is am image of the challenge board - provided to help inspire.


Each month there is a twist included in the challenge and this month, the twist was to add flowers to your project.  


I actually bought a pre-made wooden decor piece from Hobby Lobby  from the Valentine's Day collection, that was perfect to alter. Red and totally glitter coated, not quite the look I was striving to achieve but perfect for sanding and painting.  

The dimensions of this wood sign are: Length: 7/8",  Width: 12 1/2,  "Height: 3 7/8".

stocking count


The Process - Steps of  DIY Altering


When transforming something into a shaker, you need a few essentials; 
1. Shaker Mix - amazing shaker mix makes a difference. This decor piece has buttons, sequins and beads from 28 Lilac Lane - Embellishment Kit - Love Story .

2.  Acrylic to create the shaker window.
3.  Chipboard to hide the acrylic edges.  My chipboard is from Creative Embellishments -Doily Frame Set 2.


Shaker Mix
I selected shaker mix that was both beautiful and bold to make the shaker element stand out.  This is 28 Lilac Lane - Embellishment Kit - Love Story .  All the coordinated embellishments in one box.  I did add a bit of gold cording, lace and florals as well. 
Patriotic Slider Pop-up Card
The Acrylic Window
I'm not really fussy about the acrylic I use however I do like free acrylic. I save clean clear acrylic from packaging whenever available.  For a decor piece that people will touch, pick up, and one that will last for years to come, I make sure to use thick acrylic for durability.  Steer clear away from flimsy film type acrylic.  

So go out and buy a package of something fun to snack on and use the acrylic for something crafty.  That's my best advice. 

TIPS for Glue : Use a good glue to secure the acrylic in place and hold.  I am not a fan of the hot glue gun and do not use one.   It's not durable and not reliable.  My favorite glue to use on any project and with any surface is 
Beacon Adhesives™ 3-In-1 Advanced Craft Glue - 4 Ounces.  This glue is great for wood, glass, plastic, metal, fabric, ceramic, leather, acrylic and just about anything your imagination can dream up.


beacons 3
-1 glue


 Chipboard Decorative Finish 
After the acrylic window is on the piece, filled and sealed, I use chipboard to hide the edges of the acrylic and make the piece look pretty and finished.  

Chipboard is inexpensive and easy to manipulate, paint, cut and shape to fit onto your piece.  The piece I used was from
 Creative Embellishments -Doily Frame Set 2.  I selected this for a few reasons.  I have both sides of the "O" to finish and hide the edges.  I cut out a few of the scallops to make it fit.  

stocking count


Thanks for stopping here today.  Happy crafting. 


Shop Here

*********************************************************************************
Buttons Galore Logo
stocking count


*********************************************************************************
beacons 3
-1 glue
Beacon Adhesives™ 3-In-1 Advanced Craft Glue - 4 Ounces


********************************************************************