DIY Vintage Bridal Button Bouquet
I had a special request to create an elegant vintage looking bridal button bouquet. More specifically, the request was to make something soft, elegant, romantic and memorable.
Challenge accepted!
My color palate: soft pinks, rose, gold, cream and white.
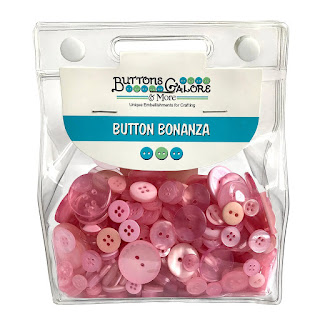
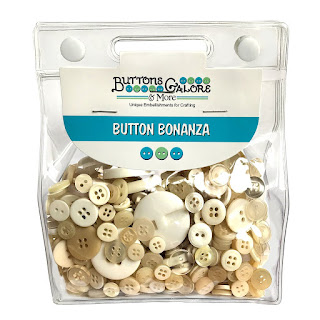
I scrolled through the multitude of button selections at Buttons Galore and More to find the perfect colors of buttons needed.
Challenge accepted!
My color palate: soft pinks, rose, gold, cream and white.
I scrolled through the multitude of button selections at Buttons Galore and More to find the perfect colors of buttons needed.

Supplies:
Buttons, buttons, buttons (and sequins too)
7.9" smooth Styrofoam half ball
Wood dowel (for the handle)
Jewelry straight pins
Floral Pins with pearl heads
Wire for securing buttons
Drawer pull (gussy up the handle)
Ribbons/lace ( hides the mess)
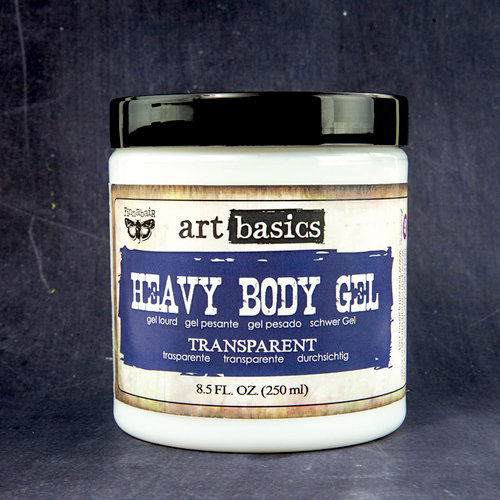
and the secret to holding everything in place...Heavy Body Gel

The Base
Warning: If you use a Styrofoam base, please make sure you add the wood dowel handle before you do anything else. I drilled a hold in the Styrofoam and glued the dowel in place.
My first attempt at the bouquet threw caution to the wind and I had to start over.
My floral bouquet has a homemade Styrofoam base with a wood dowel handle because I know nothing about floral supplies. My suggestion is to find the easiest base with Styrofoam for your comfort level.
The process:
Here are the Buttons Galore buttons I used. I think the Cookie Jar of Fancy Gold Buttons set the tone for the bouquet.
*********************************************************************************
 |  |  |

Buttons Galore -Cookie Jar - Fancy Gold Buttons CJ100
I spread out packages of buttons on the table and started creating stacks of two or three buttons each, attached together with wire. I'd cut the wire and string it through all three buttons and set aside busily making little piles.
Then I realized...Christmas tree ornament hangers are wire, AND already cut for me. What a bonus. Easy to reshape and bend as desired, long enough to go into the styrofoam, and pre-cut.
YES - pre-cut.
Ohhhhh my hands thank you, little pre-cut metal darlings.

Worth a closer look...
The gold vintage style buttons from Buttons Galore's Cookie Jar full of Fancy Gold Buttons - a gorgeous, rich collection of various gold buttons; some have jewels, some look vintage, some are shiny, a wonderful surprise in the jar.


Securing the buttons in place for durability
The image above shows how tightly the buttons are placed creating layers. I left no bare spaces.
This was a learning experience for me. After completing the bouquet and adding all the buttons, I realized the buttons were not super secure. I was not confident that the layered buttons would not fall out. They also jiggled around a bit when gently shaken.
I tried adding glue to a few of the base layers but it wasn't a solution to the jiggling. I thought adding a straight pin with an opalescent sequin would help because those pins are really long. Nope. Not enough.
What's the best way to keep the buttons securely in place?
I slathered a generous amount of Heavy Body Gel directly on the top of the button right over the sequin. I also used the gel as a glue and slathered around the button layers to lock them in.
I slathered a generous amount of Heavy Body Gel directly on the top of the button right over the sequin. I also used the gel as a glue and slathered around the button layers to lock them in.

Why this particular product? It dries totally clear and NOT glossy. And because it's super thick it holds the buttons nicely and doesn't drip.

The image below shows how I created loops of ribbon to finish the base. Do not use wired ribbon. It ends up looking sloppy and messy. I found the satin ribbon to be the best in my opinion.

All the ribbon and lace are held in place using floral pins with pearl heads. You can use ling sewing pins as well but they are significantly more expensive.


Shop Here:
*********************************************************************************
| | |
*********************************************************************************
|
| |

*********************************************************************************