Showing posts with label Doll Stamps. Show all posts

Saturday, September 12, 2020

Best Friends - DIY Shadow Box Home Decor with Julie Nutting Doll Stamps


Best Friends - Carter and Carly Doll Stamps DIY Home Decor

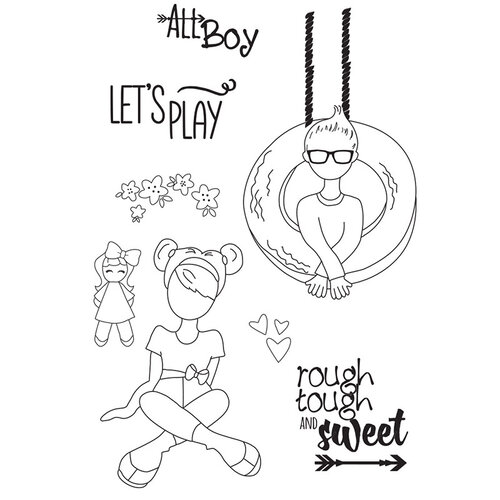
Prima and Julie Nutting have a new set of doll stamps that melt my heart;
 Prima - Julie Nutting - Carter and Carly.  They are darling and look fabulous dressed in Maja Design's newest paper collection, "Miles Apart" .   

Today I am sharing a DIY shadow box home decor piece made with these delightful products.  If you scroll down, you'll see how I made the piece.   

Below is an image of the stamp set and Maja Design paper collection, with it's soft and delicate prints. 

I primarily used the "Miles Apart" 6x6 paper pad to "dress" the Julie Nutting paper dolls in my shadow box.  The background of the shadow box is the only 12x12 piece I used from the collection.  This sheet is call "A Phone Call".  


Simple DIY Instructions
Here are some simple instructions on how I made this sweet shadow box using the new Carter and Carly doll stamps from Prima and Julie Nutting

I stamp the dolls using a platform that enables me to stamp several times in case I need touch ups with ink.  I've stamped too many dolls without heads or limbs to not use a platform these days.  In terms of stamping, the  MISTI Stamp platform (Most Incredible Stamp Tool Invented)  is right up there as an essential invention breakthrough - like sliced bread.  

I also like stamping dolls using brown ink that has great pigmentation, dries quickly, and doesn't run when it gets wet.  Which is why I love Spellbinders / Fun Stampers Journey Dark Roast True Color Fusion Ink Pad.  
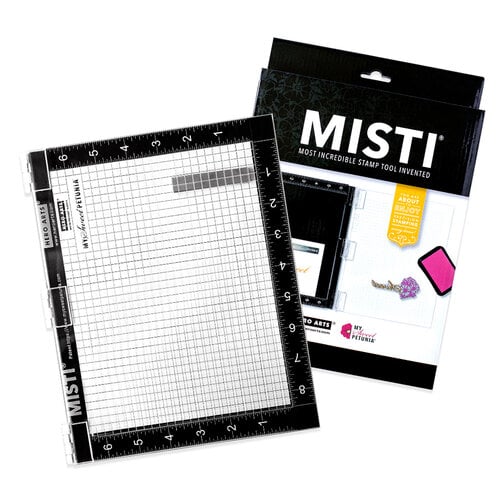
Hero Arts - MISTI - Original MISTI - Most Incredible Stamp Tool InventedDark Roast True Color Fusion Ink Pad
The wooden box is a decorative piece I bought from a big box store.  It had a great wood frame and was pretty sturdy so I grabbed it for re-purposing. 

First,  I wanted Carter's tire swing to actually move so I cut two layers to use as a sandwich. I glued two pieces of hemp string between the two layers. 


Next I stapled the string to the wooden box.  No worries because we will be covering and hiding the staples. 

Covering up the staples was super easy with ribbon wrapped around the box to decorate (but mostly to cover the staples).  A crafter's gotta be sneaky that way.  
Meet Carly.  She looks adorable in the Maja Design papers.  Plus the 6x6 prints are perfectly sized for the dolls.  

I cut two layers to make her more durable especially because I am going to be bending the doll at the waist so she can sit.  No need to color the second layer but I definitely inked the edges so they would blend nicely when glued together. 
I added some foam behind Carly's head and torso so she had a bit of dimension when glued to the wooden shadow box. 

Next I gave Carly and her doll a few sparkly finishing touches any sweet little paper would love.  The gem accents are Buttons Galore's new Princess Sparkle Doo Dadz. 

 Doo Dadz are a unique mixture of flat back diamond faceted gems combined with sparkling shimmery iridescent sprinkles.  You can see the entire Doo Dadz collection here. They are perfect to use as shaker mixes, project accents, and even paper doll accessories.  

Thank you Carly and dollie, for being our Doo Dadz accessories models today.   

Buttons Galore -Princess Sparkle Dd112


Next, Carter had to put his baseball mitt down so he could swing.  The mitt is a 3D button from Buttons Galore, Buttons Galore 3D Buttons - Baseball.  Of course Carter needed accessories as well, and how can you blame me?  The 3D baseball button set is perfectly sized for Carter ( or Carly).   
Buttons Galore -Baseball 4065?_pos=4&_sid=c7be18923&_ss=r


Thanks for stopping here today.  I appreciate your time. 

 Shop Here:

Tuesday, October 15, 2019

Halloween Pumpkin Home Decor - Buttons Galore and Prima/ Julie Nutting Doll Stamps - Instructions


DIY Halloween Home Decor   

Do you love to decorate for Halloween?   I love Halloween but I tend to lean to the cute side of the holiday and not the super creepy, frightening.  I was never a fan of scary movies.  

I have a home decor project  that you can make to "wow" your Halloween guests. Scroll down for the DIY instructions and helpful tips. 

So let's see how I transformed this simple Styrofoam pumpkin into a sweet Halloween centerpiece for your table with products from Buttons Galore, Prima and Julie Nutting doll stamps.   
Buttons Galore


Step 1.  Get a Cheap Styrofoam Pumpkin

First step is to use a super cheap Styrofoam pumpkin (about 6in tall) that you can cut up without tears.  The solid plastic pumpkins will not work.  

  Cut a wedge into the pumpkin to use as a "shelf" for the dolls and embellishing decorations. This will act like a shadow box or a pumpkin shelf.  


       Step 2.  Paint and Seal the Styrofoam.  
After you are successful and happy with your cutting job, you need to seal the exposed Styrofoam so it  doesn't continue to shed it's nightmare of devilish white static cling balls everywhere.  

 I painted the shelf of the pumpkin with black acrylic paint. After AIR drying completely, I  added an additional layer of ModPodge - gobs actually.  Gobs of ModPodge.  (You can use white school glue and water mixture as well).  This step needed to also AIR dry. 

WARNING..WARNING....WARNING  -  DO NOT use the heat gun to help dry the styrofoam.  This needs to air dry.  Go bake some brownies, take a nice walk and admire the leaves, start a new project, go to bed...anything other than use the heat gun.  It's better than calling the fire department.  
Step 3.  Making the Styrofoam Spooky
After the black was dry,
 I covered the pumpkin shelf with black cheesecloth that I grabbed at the dollar store (buy a decoration with black cheesecloth and rip apart if you want.) 

In the photo below, you can see the white ModPodge gobs are not dry yet but that is OK because it is a glue-like substance and will help to secure  the cheesecloth. 

Step 4.  Making the Dolls Sturdy for Home Decor Pieces
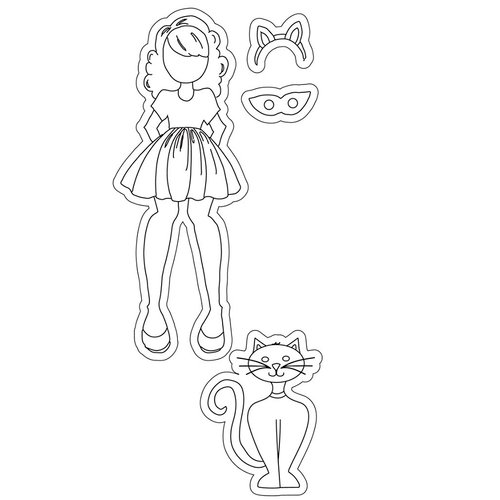
My main decorations are stamped dolls from Prima - Julie Nutting - Halloween - Cling Mounted Stamps - Catgirl .  
Prima - Julie Nutting - Halloween - Cling Mounted Stamps - Catgirl

 Like I mentioned earlier, I want this project to be like a shadow box with cool depth and dimension.  Thus my dolls can't be flat. They certainly cannot be flimsy and  vulnerable to folds and creases, rips and tears.  

To make her sturdy and durable,  I simply cut 2 or 3 doll shapes.  I decorate one to be used as the front.  I add some wood skewers and then add then glue the remaining layers to the back.  No need to decorate the back layer.  It will be facing the pumpkin.  
The wonderful thing about Styrofoam is that it provides a supportive medium for your dolls to stand up.  I  did add some glue to the ends of the wood skewers before sticking the dolls into the pumpkin.  
 Step 5.  The Shaker Sign Embellishment
The shaker sign is created much the same way the doll and cat were created - by using wood skewers under the layers of paper.  The wood skewers will be handy to stick into the top of the pumpkin to hold the Halloween shaker sign secure.  

The black cheesecloth was used to help provide a clean finished look to the shaker. 

The shaker mix is from Buttons Galore and I thought the mix was cute for this fun home decor piece.  
*********************************************************************************

Happy Hauntings 3D buttons
orange crush
 Buttons Galore and More -3D Buttons - Witching Hour HH100


*********************************************************************************

As you can see in the image below, I topped with Buttons Galore and More -3D Buttons - Witching Hour  and Happy Hauntings 3D Buttons


Now you can decorate as you desire.  I actually kept  the embellishments simple.  I used some generic pre-wired floral vines for the background.  The wires were perfect for poking into the Styrofoam pumpkin.  Add a dab of glue and all is great.  


One last finishing tip...I had some brown floral tape handy so  I did  wrap the stem in brown tape.  It looks a whole lot better wrapped in brown floral tape than just the original brown plastic.  


And this is  how the back looks.  For once, the back of my project is as pretty as the front.  wow ....that NEVER happens.  

Thanks for stopping here today.  I appreciate your visit. 


Shop Here:
*********************************************************************************

Happy Hauntings 3D buttons
orange crush
 Buttons Galore and More -3D Buttons - Witching Hour HH100

*********************************************************************************
Prima - Julie Nutting - Halloween - Cling Mounted Stamps - Catgirl


Buttons Galore

*********************************************************************************

Tuesday, January 2, 2018

Snow House - Celebrate Winter

Happy New Year!  2018 already.  Seems crazy, doesn't it?  I'm welcoming the start of a very creative year on the Creative Embellishments team.  I'm proud and thrilled to join this fabulous chipboard team this year.  Yippee!  (You can find the original CE blog post here.)

 I've taken this opportunity to create a 3D winter wonderland scene using the chipboard pieces to decorate and accent the house as well as papers from Maja Design - 
a joyous holiday/winter collection from Maja Design- "Joyous Winterdays". 
The sweet boy and girl are made using Prima Marketing and Julie Nutting doll stamps ( Toby  and Little Girl).
Chipboard Treatments:
I wanted this house to look frosty and cold, I painted all my chipboard with white paint to start.  I really didn't use any other techniques on the chipboard.  But I did add a thin layer of  Prima's Snowflake Paste here and there to add a glittery snowy look.  

The surface of the bricks have been whitewashed  (white paint thinned with a bit of water) and the"grout " untouched relying on the rich brown color of the natural chipboard to provide visual depth. 
This is what the Creative Embellishments -Brick Pieces look like before:

I've taken various snowflakes from  Creative Embellishments  - Large Snowflake Set and placed them around this house and used the Creative Embellishments -Snowflake Page Corner Set as decorative molding on the  peaks of the house. 


Transitioning to the back of the house,  I created a frosty winter garden using Creative Embellishments -  (Garden)Trellis 1 all gussied up with pinecones and miscellaneous winter floral picks.  In order to make this piece a bit more durable, I suggest securing the pinecones and florals to the trellis with some thin wire.  


Next, my house has a cat sitting on a fence to add some charm ( BorderCreative Embellishments - Cats on a Fence Border ).  I cut the original Cats on a Fence  piece
in half and glued the pieces together to strengthen them for extra durability. 

The following images show the details of the sides of the house.  See how sweet that Cats on a Fence  is with my house? 

The next photos show how I used Prima's Snowflake Paste on the bricks below, the fence and also the roofing.   

A simple detail like wrapping the brickwork around the corner of the house makes a difference.  
It's all in the details!  


How Did I Make the Dolls Stand? 
 My little tip to make the dolls to stand up - I mounted them on binder clips that had been painted silver.    You can see the clips down below.   If you want to see how I used the binder clips as stands, you can find my tutorial on this blog post.  
I created a similar type project, so while not the exact same, you will have a good idea of the technique.  
See tutorial here


Where to shop? 
You can shop for Creative Embellishments Chipboard right here.  
You can shop for Maja Design papers right here. 

May your new year be filled with health, joy and an abundance of creativity. 


Maja Design - Joyous Winterdays paper collection
Creative Embellishments  - Large Snowflake Set
Creative Embellishments -Snowflake Page Corner Set
Creative Embellishments - Cats on a Fence Border
Creative Embellishments -Brick Pieces
Creative Embellishments -  (Garden)Trellis 1
Prima -Julie Nutting Doll Stamps - Toby 910969
Prima - Julie Nutting Doll Stamps - Little Girl - 910600
Prima -Art Extravaganza Finnabair  - Snowflake Paste 962906