Holiday DIY Home Decor Gift Box
Hello crafty friends. I'm here to present a decorated Christmas box that's perfect for filling and gifting or using as a table centerpiece. Whether used as home decor or filled with goodies for that special person, it's sure to be treasured.
Boy wouldn't this be great filled with candy, coffee, tea, an ornament and more (well, not in the same box of course). It's great for the teacher, an office gift exchange, church group grab bag gift, secret Santa (remember how fun that was as a kid?), or that little gift of appreciation for someone special like your favorite babysitter or pastor.
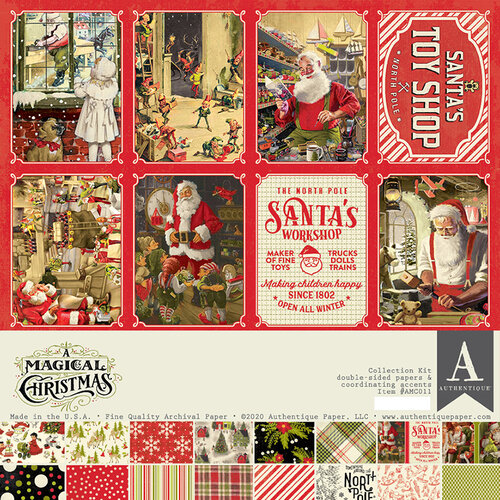
Created using Authentique's new Christmas collection, "A Magical Christmas".
This is a classically wonderful collection filled with the greens and reds of the season, the Christmas plaids that are so popular, "candy cane" stripes and vintage ephemera images that are perfect for quick card making.

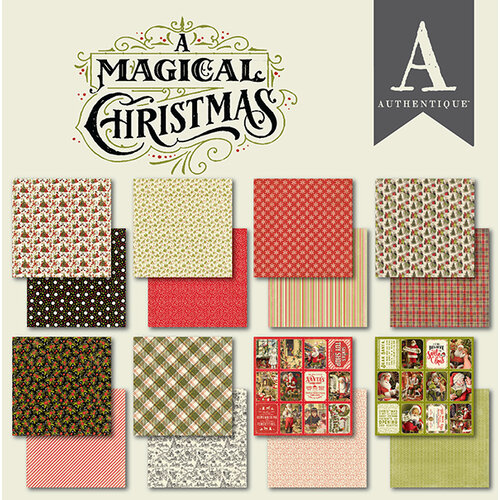
I used 12x12 sized sheets from Authentique Paper - A Magical Christmas Collection - 12 x 12 Collection Kit or Authentique Paper - A Magical Christmas Collection - 12 x 12 Paper Pad
to create my project.
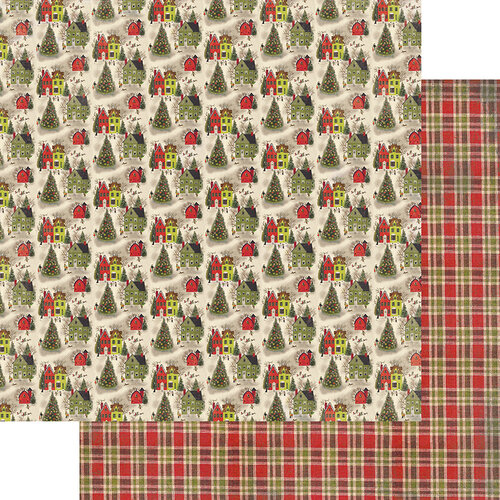
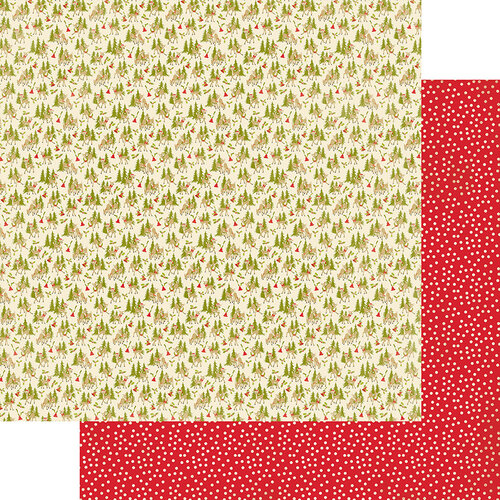
The individual 12x12 sheets are shown below:

Tips on Decorating Paper Mache Boxes
I started with a paper mache box leftover from my stash of last season's clearance hauls. Ok in all honesty, since it was in my stash, it could have been from many seasons past. I'm not gonna lie.
If you are putting your creative love and time into making a gift or piece of home decor, you probably are shooting for durability. Of course you'd like your project to last. I have have a few helpful tips for durability and success.
 When starting a paper mache box project, you need to know where the lid stops when it's placed on the box. This will be the line where your decorative paper or embellishments need to stop in order for the top to fit on the finished box.
 If you cover the entire side of the box, the lid will not fit. Know your boundary.
Place the lid on the box and trace the line with pencil marking where the lid ends.

Let's talk adhesives.
When decorating paper mache, I like using a soft matte gel as the adhesive. The gel medium also acts as a protective layer against dirt, fingerprints, smudging while sealing the edges of the paper keeping them safe from rips and tears.
If you buy a gel that has a matte finish, the medium will dry clear and be virtually invisible. I add a generous layer of soft matte gel directly to the paper mache, add my Authentique paper, smooth out any air bubbles under the patterned paper, then finish with a top coat of soft matte gel.
I did add brown ink to the edges of the top paper layer to make the layer pop a bit.

The inside of my box is covered with paper for a finished look. It was important for me to have a beautiful inside. I cut the darling Santa from the 6x6 paper pad.

Decorative Finishing Touches
I have a few finishing decorative touches I'd like to point out.
The chipboard reindeer is from Creative Embellishments and has been heat embossed with super fine gold embossing powder. Super fine embossing powder you say? Yes, if I am looking for a nice clean embossed look, I choose super fine or fine embossing powder so the finished look doesn't have chunky patches after being heat set.
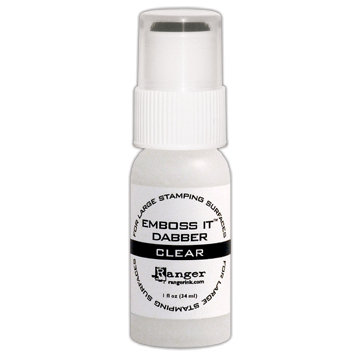
The embossing ink dabber is also my handy "go to" when I am planning on embossing something larger that requires total coverage - unlike a stamp which needs super specific coverage.


Next is the blingy finishing touch. Nothing says finished than those last few cool added to a project. to top it off. I also accented the finished box with some Cool Yule Doo Dadz gems from Buttons Galore for a bit of holiday sparkle.
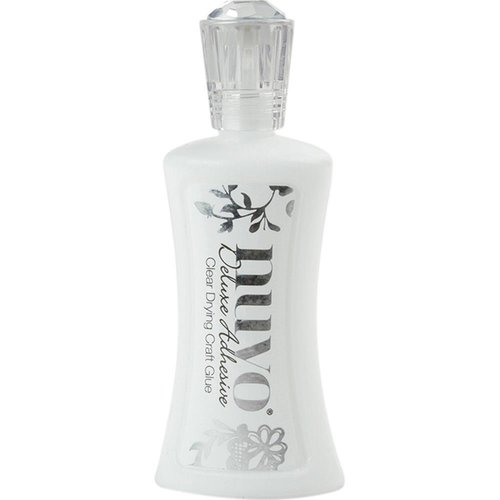
The Crystal Ninja CRYSTAL KATANA Mixed Media Pick Up Tool and Nuvo - Deluxe Adhesive are like my new fingers. They help grab the small things and assist with perfectly placing and adhering those tiny finishing details like gems and sequins. This dries crystal clear and has a super fine tip for apply small dots of adhesive.


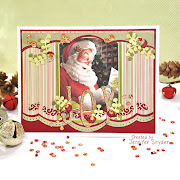
Other Projects Using "A Magical Christmas"
Here are some other projects I made using Authentique's new "A Magical Christmas".


Thanks and Happy crafting.
Supplies:
Individual 12x12 Authentique sheets include:
Gold Embossing Powder
Foam brush
Ribbon
Paper Mache Tree Shaped Box
Gold Glitter Ribbon
Foam Berries

Shop Here: