Have you tried the Spellbinders Border Dies for cards yet?
Spellbinders Card Creator Border Dies have a timeless beauty about them. While they are not new to the market, they remain one of my favorite die sets from Spellbinders - a staple in my die collection.
These Spellbinders dies add a touch of elegance and grace to any card. I have to say I am officially obsessed with the gorgeous results.
I created this card and have provided a step by step tutorial revealing the secret background technique I created on the card. Scroll down below.
Here is another closeup of the flower focal point of the card.
Purple Flowers (You can find some options
here and
here)
Paint Brush
Branch - Punch - or any branch/leaf die
Cardstock
Prima Chalk Edger - Lime Pie (lime chalk ink - or green ink)
Let's see how I created this:
1.
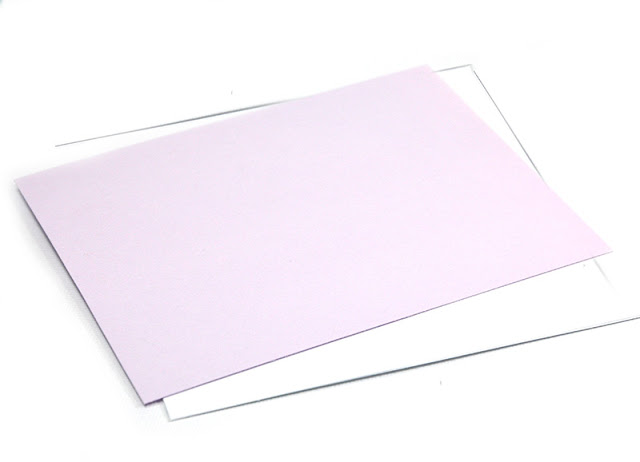
I am starting with a white card base and adding a soft lavender layer. I trimmed the lavender layer slightly smaller than the base card so that I have a thin white border frame. The border dies are 6 inches long so make sure your cardstock or pre-folded card is that length as well. I primarily use pre-folded blank cards so I will need to trim my card base.
2.
Select the combination of borders from the
Spellbinders A2 -Scalloped Borders One die set and secure onto your cardstock with removable tape. I like using washi tape to hold dies in place because washi tape comes off your cardstock easily without ripping the paper.
This die set remains one of my favorite sets from Spellbinders because it's timeless, classic and elegant. I adore the look of the scalloped edges.
from: Spellbinders / FSJ
More choices to make...cut as many layers as you wish.
3.
Glue border layers to the card. I wanted the top layer to be white so I made sure to cut a piece of white cardstock big enough to fit nicely over all my border layers.
4.
In this step, I did a bit of the unusual. I decided to make a small subtle background with watercolor paints.
Don't let the term "watercolor paints" frighten you. I am not an artist and I have literally no major experience with watercolor paints. But that doesn't mean I can't try them out, experiment and have some fun. You can too. That's why I'm recommending the very inexpensive set that I have. The
Yasutomo PEARLESCENT WATERCOLOR set is about $4.99. Yep - that's all.
I wanted to add color, but thought soft and understated would be the way to go. I took some shimmer watercolor paints and simply dabbed them in one corner of my card. I did not get the cardstock super wet, and I blotted with a paper towel in between each watercolor application so that my card would not warp with excess water.
The colors I chose: light blue, light green, fuchsia, and purple.

5.
The same goes for the purple flowers. The originals used have long since disappeared but
Here are some recommendations for flowers that would be lovely and in keeping with the purple of the card.
6. Last finishing touch, I punched some pine branches from one of my favorite punches - the Martha Stewart Branch punch. I find this punch makes wonderful cluster filler on cards, layouts and projects.I punched them from white cardstock and dabbed the edges with chalk ink. Then I simply glue and tuck here and there and fluff up the ends of the pine branches.
And here is one last look at the finished card.
Thanks for stopping here for a classic retake.
Shop Here
*******************************************************************************
********************************************************************************
*********************************************************************************


