Hello friends. Today I am sharing a dramatic Christmas DIY home decor makeover made using some products that make a perfect pairing; Authentique's Christmas Greetings collection and coordinating Authentique's Spectrum solid colors collection accentuated by Spellbinders Amazing Paper Grace (APG) Die of the Month for November.
The idea was to take a boring wooden plaque and turn it into a dazzling shadowbox. Scroll down the blog page for the instructions.
Below is the image for the gorgeous APG Die of the Month for November from Spellbinders. The APG stands for Amazing Paper Grace designs by Becca Feeken. The photo is from Spellbinders and is the sample image for the die.

I am always on the hunt for clearance and discounted home decor pieces at big box stores and thrift stores that I can flip around and use as shadowboxes. I'm interested in wooden frame type items that are deep enough to gussy as I want.
Today's featured piece was found at a big box national chain (on sale of course) and it has rich brown wood sides so I really don't need to do anything to the wood frame.
I have some simple instructions to show you this dramatic transformation.
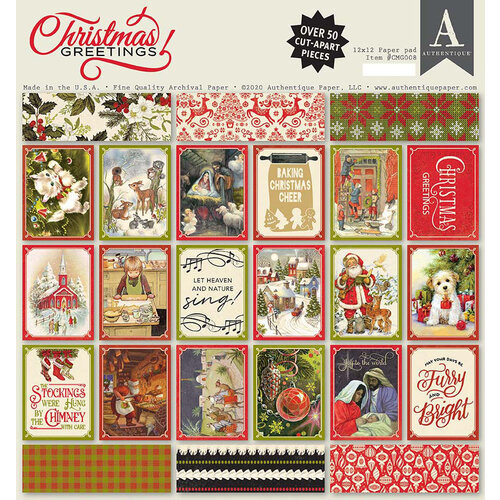
Step 1. Flip frame around to decorate the inside. Cut the Authentique Paper - Christmas Greetings Collection - 12 x 12 Paper Pad to size and glue.
Step 2. Add trim or decorative cording around the inside edges of the box to hide the imperfections. My favorite trick to use to make the project appear finished and polished.
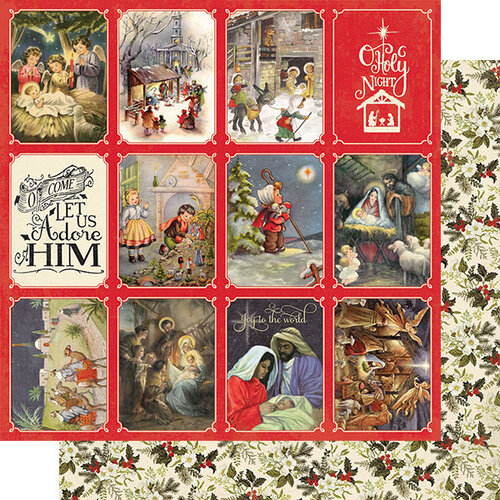
Step 3. Fill the box with embellishments. Die cuts, tree, flowers. I also cut a mini ephemera card from the Christmas Greetings Collection - 6 x 6 Paper Pad to convey the Christmas message. There are so many great ephemera cards to choose from in the collection.
Step 5. Final step was to add ribbon around the outside of the box.
This image below shows some of the details and embellishments used on the shadow box.
The dies used are included in one die set from Spellbinders (
APG Die for November). This set has the fabulous festive poinsettias and greens along with the ornate sleigh.
Next I used a white decorative tree and glued in with very durable glue (Beacons 3 in 1). I added the
Buttons Galore (Pearlz) to the tree as a subtle decoration.
The next two images shows the ribbon added around the outside of the box.
Thank you for stopping here today and happy crafting.
Supplies:
Gold Floral Berries
Beacons 3 in 1 glue
Wood Decor Shadow Box


WOW! What a gorgeous festive shadow box! Stunning work as always.
ReplyDeleteSamra
Paper Talk with Samra
How terrifically charming, festive, and beautiful. This is an instant heirloom of a paper crafting project.
ReplyDeleteAutumn Zenith 🧡 Witchcrafted Life