When is a circle not JUST a circle? When it becomes a cool shaker card.
Inspired by the May challenge at Creative Embellishments.
This month's challenge image is shown below.
The rules are simple: Be inspired by at least one element from the photo. Twist add something with wings to your project.... bird, butterfly, dragonfly, fairy, dragon etc
These cards featured today use the following chipboard elements;
In keeping with the dreamy imagery and jewel tones, I picked the purples and blues as my colors. Creative Embellishments chipboard fairies will represent the winged twist requirement.
Creative Embellishments released a new line of chipboard designs that cater to shaker makers...those of us who are addicted to making shaker cards. The sets come with a pre-cut and perfectly sized acrylic piece to cover the shaker. That's really important because the acrylic piece is the most critical and difficult part to create when making a shaker at home.
So I ask again, When is a circle not JUST a circle? When it becomes a cool custom shaker card crafted using Creative Embellishments - Circle Shaker Set.
Now the best part about this is that you can add any chipboard piece to decorate the circle and make a customized shaker. Just like the fairy that I added.
Now the best part about this is that you can add any chipboard piece to decorate the circle and make a customized shaker. Just like the fairy that I added.
*********************************************************************************
 |
|  |
*********************************************************************************
The papers used are Graphic 45 - Fairie Dust collection - a perfect fit for my vision.

Wondering what to use for shaker filler?
OK so now you have your shaker card made and you are ready to fill it. Don't sit at your crafty desk and look around for little bits. You have easy options!
I filled with sequins and crystals from Buttons Galore - Sparkletz. They have an assortment of colors and bits for the perfect filler. A second option is using wood veneer pieces from Creative Embellishments (I used these in the egg shaker card - keep scrolling down).
| Buttons Galore - Sparkletz - Sailor Sky (Shaker Card Fillers) |
TIP: Add your filler then use a good adhesive to seal the shaker with the pre-cut acrylic piece that comes in the kit. I used Beacons 3-in-1glue because it dries clear and works well with a variety of surfaces ( acrylics, plastics, wood, metal, fabric, canvas).
*********************Second Card for the Day *****************************
Here is the second card created for the challenge. I used the newly designed Steampunk Timepieces (set of 3) and topped with the chipboard Fairies.
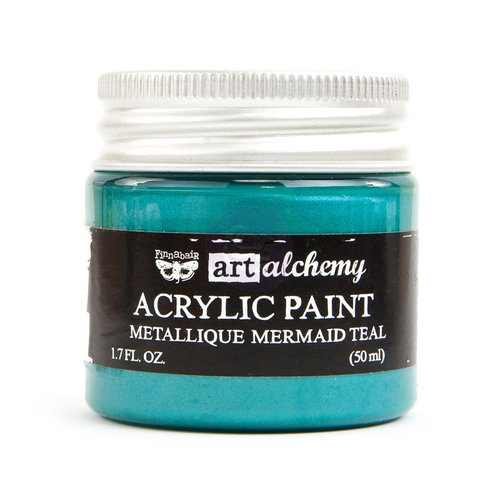
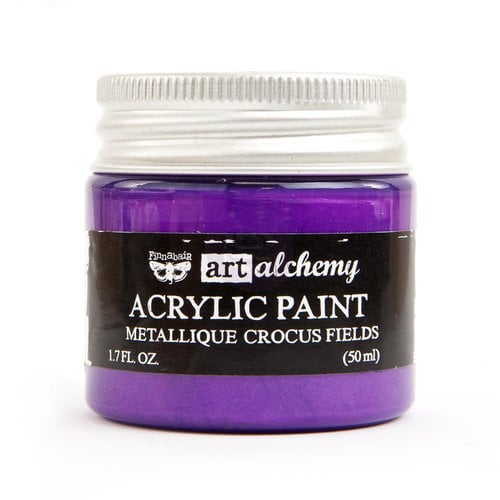
The treatments on the chipboard are really quite simple - acrylic paint and gold embossing powder.
********************************************************************************
|
|
|  |
*********************************************************************************
Thanks for stopping here today. I appreciate your support.
Where to Shop?
********************************************************************************
********************************************************************************
 |
|  |
*********************************************************************************
 |
|  |
*********************************************************************************
|
|
|  |
*********************************************************************************


No comments:
Post a Comment