
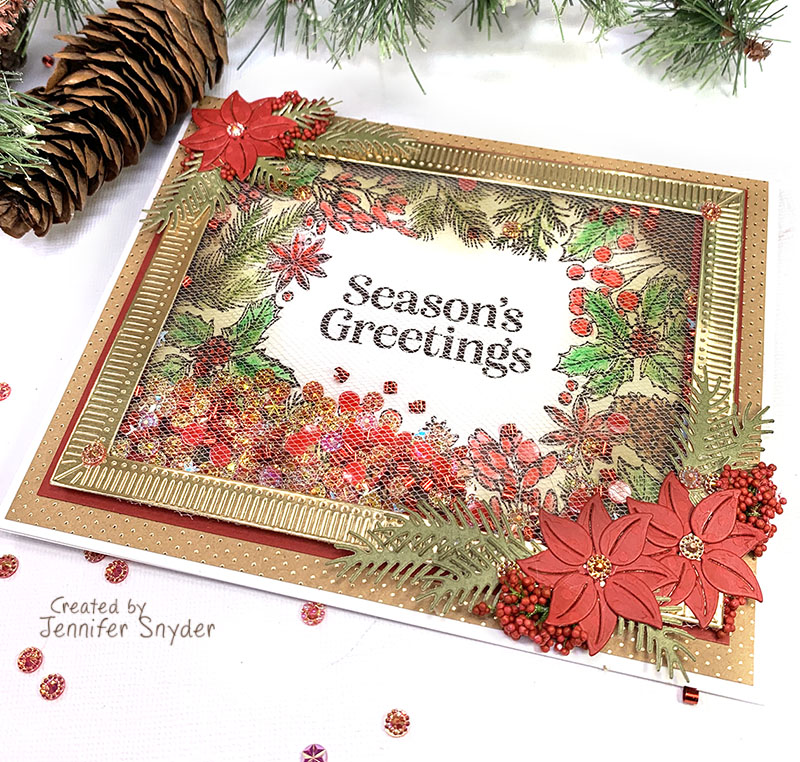
Spellbinders is celebrating Christmas in July. My craft table is shaking with holiday festivities because I am making shaker cards!
It's time to Celebrate the Season (with Spellbinders newest collection). Scroll down and I'll show you how I made this. The shaker card featured today use the dies shown below:Spellbinders Winter Welcome Sled Etched Dies from the Celebrate the Season Collection and Spellbinders Balsam & Berries Clear Stamp Set from the Celebrate the Season Collection


The frame around the card was created using a die set that is a "must have" in your collection. Spellbinders Fluted Classics Rectangles Etched Dies from the Fluted Classics Collection by Becca Feeken
Here are some other products included in the collection:
Spellbinders Mix & Match Holiday Greetings Etched Dies from the Celebrate the Season Collection, Spellbinders Stylish Merry Christmas Etched Dies from the Celebrate the Season Collection


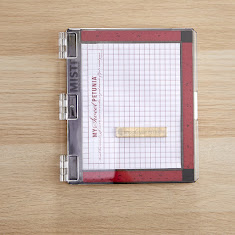
The secret to perfect stamping starts with a stamping platform. My favorite is
I used Archival ink because it doesn't bleed when I use water color pencils to color the images.
Instructions
Making shaker cards is quite easy when using tulle netting. The netting is super inexpensive and I prefer to use white tulle.
I taped the tulle to the frame to create the shaker window.
Next step
Once the tulle is securely in place, add foam tape around all sides - leaving no spaces for shaker material to fall out.
Final Steps
Add the shaker mix and close the front shaker window. Yep it's that easy!
The Shaker Mix
This is a beautiful, vibrant combination of iridescent confetti and iridescent flat backed crystals.
Thank you for stopping here to visit.


No comments:
Post a Comment