Christmas Pickup Truck - DIY Home Decor
Hello friends. Today I'm in the Christmas decorating mood. I created a wooden home décor piece for my front door using Creative Embellishments wooden Home Décor pieces. Scroll down to see the tips and DIY instructions to make these pieces.
The Creative Embellishments wood décor collection has a wide variety of original designs ranging from holiday to coastal. If you have not seen them yet, take a moment to check out the amazing selection of unique designs ready to be decorated.

The Pickup Truck Back
Let's start with the wood home decor Truck Back. This is laser cut and etched 3/16" thick plywood and is clean, smooth and ready to be altered any way you choose - paint, paper, whatever. It's also quite large measuring 11.9"w x 10.7"h making this perfect for front door decor, as a wall hanging, table top conversation piece or gift.
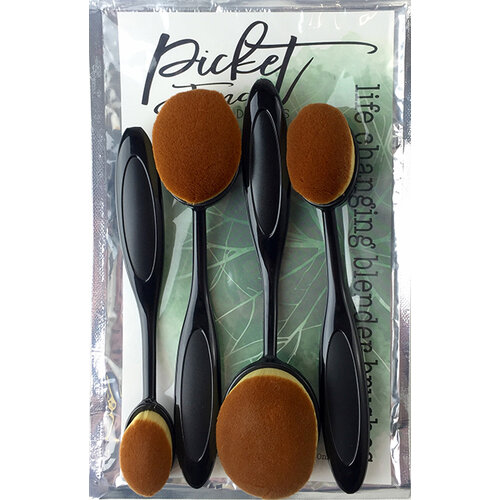
This was painted with basic acrylic paints then sanded in places to add back the worn rustic look. Next step in the process - inking with Black Soot and Walnut Stain distress inks to create shading and depth. I do love using Blending Brushes for shading the wood decor pieces because the blending brushes provide a smooth feathered transition on the project.

Chipboard Decorative Pieces - The Trees and Wreath
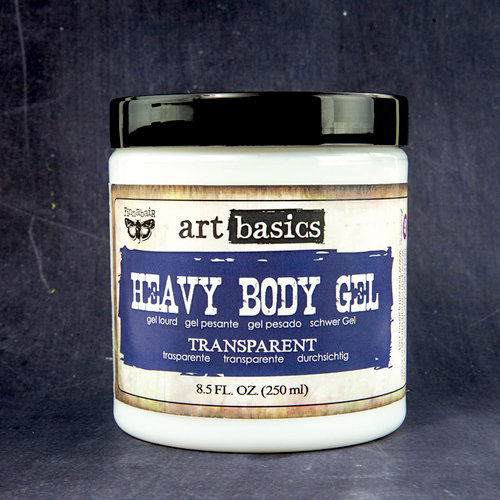
The following chipboard pieces were used to decorate the truck: Christmas Wreaths, Mini Wreaths, and tall pine trees. The pieces were painted with acrylic paint and texturized by mixing Forest Moss Distress Paint with clear 3D Gel or Heavy Body Gel ( or clear translucent molding paste).
Before adding the trunk layer to the wood base, the trees were glued down and brown/black gingham fabric tucked into place for vintage appeal.
To compensate for the extra bulk of the trees and fabric, and allow the trunk piece to lie flat, I added a large piece of cardboard for support and level out the trunk piece.
Creating the Wreath Shaker
I added a fun shaker to the trunk by combining two of the chipboard pieces from Creative Embellishments: Christmas Wreaths and Mini Wreaths. While these are not shaker sets, they are easily transformed into shakers by cutting a middle layer of foam and adding an acrylic window.
Special Note: Do not stress over matching up the berries on the wreaths. The wreath looks fuller and more dimensional when the berries on the bottom layer do not align with the berries on the top layer.
Below is a photo showing the process.
The Shaker Mix and Button Embellishments
The secret to a fabulous shaker is the magic of the shaker mix. The wreath shaker is filled with Buttons Galore DooDadz in Merry Mimosa. DooDadz are new at Buttons Galore and spectacularly fun. They combine iridescent "confetti" pieces with beads and flat diamond cut gems.
Finishing Touches
Special Note: I used wire to attach the buttons to the shaker wreath for durability.
Thank you for stopping here today. I appreciate your time.