Showing posts with label clock. Show all posts

Wednesday, May 1, 2019

Create Custom Shaker Cards with Chipboard from Creative Embellishments


When is a circle not JUST a circle?  When it becomes a cool shaker card. 

Inspired by the May challenge at Creative Embellishments.  

This month's challenge image is shown below.  
The rules are simple:  Be inspired by at least one element from the photo. Twist add something with wings to your project.... bird, butterfly, dragonfly, fairy, dragon etc

These cards featured today use the following chipboard elements;

In keeping with the dreamy imagery and jewel tones, I picked the purples and blues as my colors.  Creative Embellishments chipboard fairies will represent the winged twist requirement. 


Creative Embellishments released a new line of chipboard designs that cater to shaker makers...those of us who are addicted to making shaker cards.  The sets come with a pre-cut and perfectly sized acrylic piece to cover the shaker.  That's really important because the acrylic piece is the most critical and difficult part to create when making a shaker at home.  

So I ask again,  When is a circle not JUST a circle?  When it becomes a cool custom shaker card crafted using Creative Embellishments - Circle Shaker Set. 

Now the best part about this is that you can add any chipboard piece to decorate the circle and make a customized shaker. Just like the fairy that I added.  

*********************************************************************************
Creative Embellishments - Shaker Sets


*********************************************************************************

The papers used are Graphic 45 - Fairie Dust collection - a perfect fit for my vision.  
Wondering what to use for shaker filler? 
OK so now you have your shaker card made and you are ready to fill it.  Don't sit at your crafty desk and look around for little bits.  You have easy options!  

I filled with sequins and crystals from Buttons Galore - Sparkletz.  They have an assortment of colors and bits for the perfect filler.  A second option is using wood veneer pieces from Creative Embellishments (I used these in the egg shaker card - keep scrolling down).  

Buttons Galore - Sparkletz - Sailor Sky (Shaker Card Fillers)
TIP:  Add your filler then use a good adhesive to seal the shaker with the pre-cut acrylic piece that comes in the kit.  I used Beacons 3-in-1glue because it dries clear and works well with a  variety of surfaces ( acrylics, plastics, wood, metal, fabric, canvas).


*********************Second Card for the Day  *****************************

Here is the second card created for the challenge.  I used the newly designed Steampunk Timepieces (set of 3) and topped with the chipboard Fairies.  


The treatments on the chipboard are really quite simple - acrylic paint and gold embossing powder.

********************************************************************************


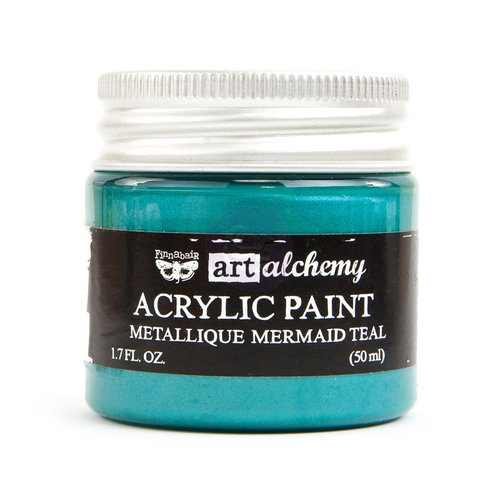
Prima - Finnabair - Art Alchemy - Acrylic Paint - Metallique - Mermaid Teal
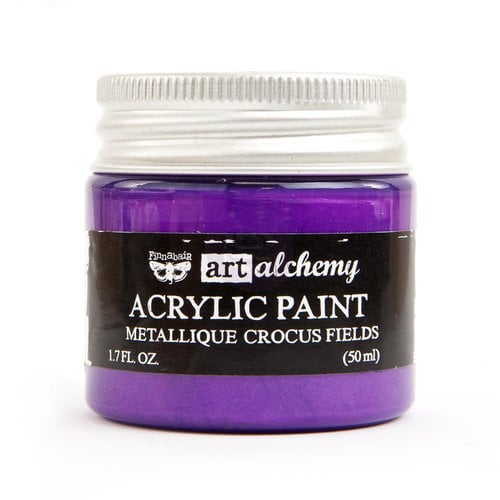
Prima - Finnabair - Art Alchemy - Acrylic Paint - Metallique - Crocus Fields
Journey Gold- Embossing Powder


*********************************************************************************


Thanks for stopping here today.  I appreciate your support.  


Where to Shop?
********************************************************************************

Creative Embellishments - Shaker Set


*********************************************************************************


Buttons Galore - Sparkletz - Sailor Sky (Shaker Card Fillers)


*********************************************************************************
Prima - Finnabair - Art Alchemy - Acrylic Paint - Metallique - Mermaid Teal
Prima - Finnabair - Art Alchemy - Acrylic Paint - Metallique - Crocus Fields
Journey Gold- Embossing Powder


*********************************************************************************

Tuesday, September 3, 2013

Flying Unicorns Off The Page Project September

DIY Shabby Chic Home Decor

Create your own DIY shabby chic home decor easily.  
Here is a soft shabby chic clock that is easy to make and looks like it came from an exclusive gift shop. 

Two main products: 

*********************************************************************************
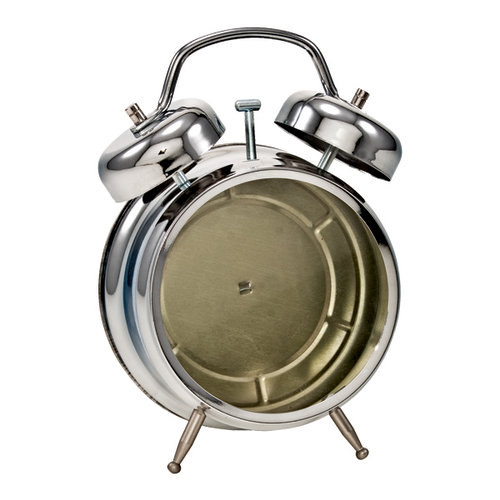
Tim Holtz - Idea-ology Collection - Assemblage Clock
from: Scrapbook.com
The Crafters Workshop - Gesso - White - 8 Ounces
from: Scrapbook.com 

*********************************************************************************

How to Paint the Clock
The clock form is stark, modern metal.  To soften the appearance of the clock and achieve your "vision", you'll need to alter the metal somehow. 

 One thing to remember is that  acrylic paint applied to metal scrapes off quite easily unless the metal has been properly primed.  I used white gesso for the primer - because it helps paint and paper grip the metal and stay in place without peeling off.  

I wanted a romantic shabby chic clean look, so I dabbed white gesso onto my clock with a natural sea sponge.  Why did I dab with a sea sponge?  Because I started with a paintbrush and the stroke marks looked ridiculous.   And that's the honest answer.  

The sea sponge has a soft surface that can absorb more paint than a paintbrush.  The dabbing technique is a way to get an even coverage with a bit of cool texture.  

Once primed with gesso and allowed to dry, you can paint or cover with patterned paper, spray mists.  I just left the gesso "as is".  

In the process of dabbing and painting, I got gesso on the face (glass or acrylic) of the clock.  I should have removed the cover or at least taped it off for protection. 

But I did not .  Alas I like the look and continued on with the technique.  Is it called technique when it's derived from a mistake?   haaaaaaaaa - I'm not sure. 


Here are some other options for altering the metal on the clock: 


  • Waxes are wonderful and provide great coverage for metal surfaces. 
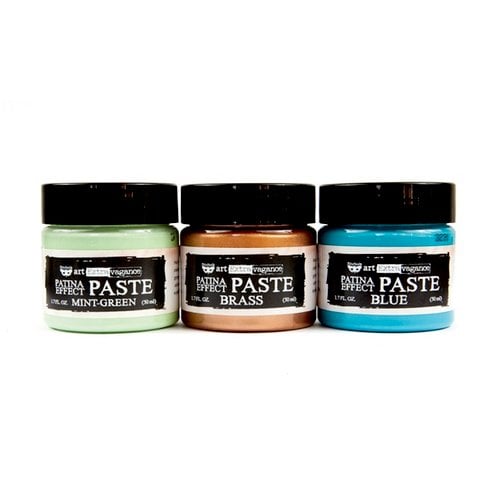
  • Prima's Paste combinations by Finnabair create rich patinas and rust effects.
  • Alcohol inks provide an interesting alternative and can result in a unique marbleized effect.
*********************************************************************************
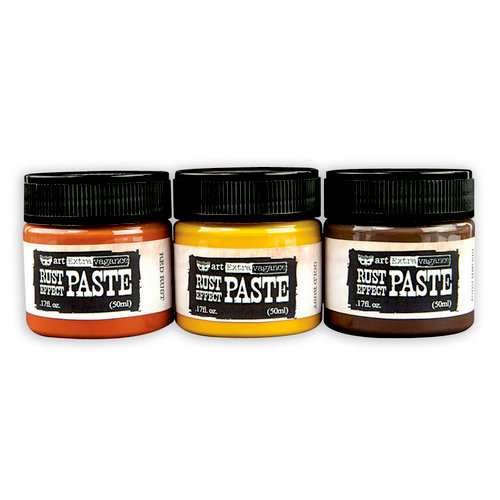
Prima - Finnabair - Art Extravagance - Rust Paste Set
from: Scrapbook.com               
from: Scrapbook.com
Prima - Finnabair - Art Alchemy - Metallique Wax - Vintage Gold
from: Scrapbook.com
*********************************************************************************
Once the gesson was dry, I moved on to decorating and started with a strip of patterned paper along he outside edge and inside the clock.  I used Kaisercraft True Romance collection ( old collection from stash)  and many Prima goodies (flowers, resins)- to create a warm shabby chic feel.


I topped with some pearl strands,  lace  and a dab of  green web weave trim.


The little decorative banner at the top of the clock is a resin piece.  Chipboard works nicely too.  You can create your own resin or mold easily.  


Thanks for looking. The full product list is at the bottom of this post

Shop Here
*********************************************************************************
Tim Holtz - Idea-ology Collection - Assemblage Clock
from: Scrapbook.com
The Crafters Workshop - Gesso - White - 8 Ounces
from: Scrapbook.com 

*********************************************************************************
Prima - Finnabair - Art Extravagance - Rust Paste Set
from: Scrapbook.com               
from: Scrapbook.com
Prima - Finnabair - Art Alchemy - Metallique Wax - Vintage Gold
from: Scrapbook.com
*********************************************************************************
Supplies:
Tim Holtz Advantus  Idea-Ology Clock
Kaisercraft True Romance Affection P1218
Kaisercraft True Romance -Day Dream P1213
Prima Dell'Atre Resins 891466
Prima Abbey A Flowers 571795
Prima Charlotte Flowers 571450
Web-weave trim
lace
Pearl string
floral berries