Halloween Witch Hat Home Decor - Featuring Buttons Galore's Pearlz
I love creating holiday home decor to freshen up the house at Halloween.
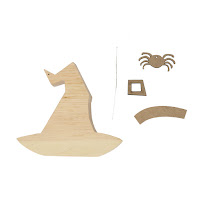
My piece today is a wooden witches hat decor piece adorned with Half Pearlz and 3D button embellishments from Buttons Galore and More.
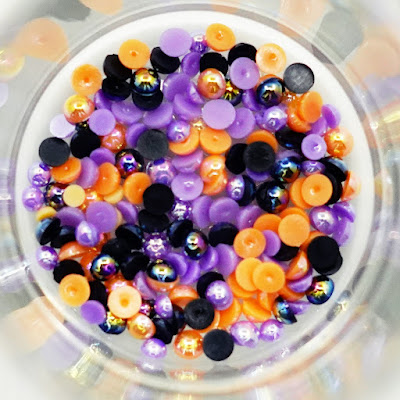
What are Half Pearlz? They are a collection of coordinating iridescent flat backed pearls. The flat back makes them easy to glue on projects. Buttons Galore has a wonderful assortment of colorful Half Pearlz for various occasions and seasons. You can find all the Half Pearlz here.
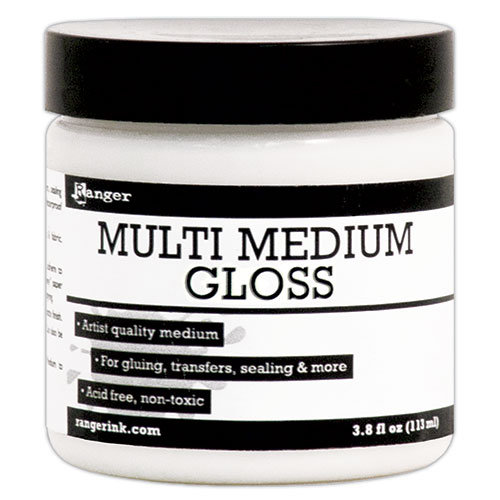
The gel medium is a great adhesive gel also so I added the Buttons Galore Half Pearlz to the hat while the gel was still wet. It's a great permanent bonding medium. Glue woks fine as well, but the gel medium was easy and convenient.
Creative Embellishments has a new product line featuring wood DIY Home Decor designs. The CE store is packed with cool designs ranging from seasonal, coastal, spooky, peaceful and more. Best of all...they are affordably priced- - check them out right here.
The DIY Home Decor pieces are large durable wooden shapes ready to be decorated as you please;
paint them, paper them, stencil them, alter them, hang them, gift them.
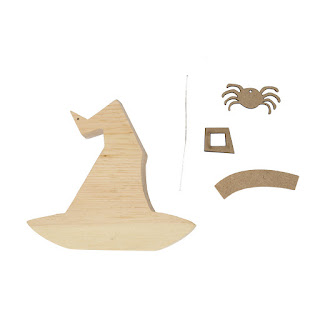
Today I am featuring the new Creative Embellishments Wood Home Decor- Large Witch Hat. While it's still summer, we all know Halloween's gonna be racing toward us in a blink. It's never too soon to think about creating fun Halloween decorations.
The wooden shapes are large - perfectly sized for a wall, front door, decor grouping. Witch Hat is 11.5"w x 11.9"h leaving you plenty of surface area to decorate.
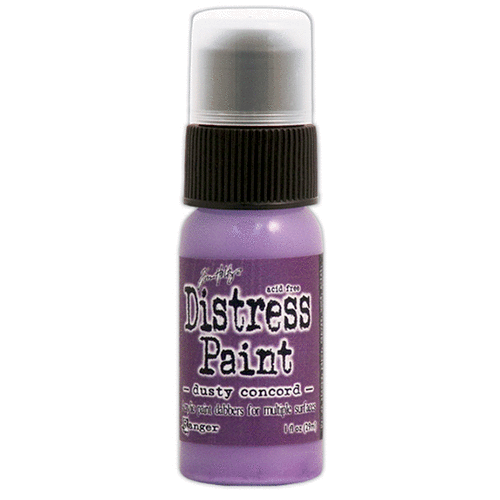
The shape is smooth unfinished wood, ready to finish. No sanding needed. I chose to paint mine with a base coat Dusty Concord Distress Paint. After the paint was dry, I used a sea sponge and dabbed a top coat of black acrylic paint - leaving some of the purple showing, sort of mottled.
Below is a great image to show some of the other decorative details used.
The top part of the hat was covered with black cheesecloth - for no other reason than added texture. Plus I really love black cheesecloth at Halloween.
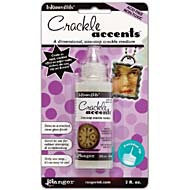
I added a chipboard spider web from Creative Embellishment's Creative Embellishments - Halloween Scene 2. Sorry it's so hard to see clearly - it was hard to photo. It was painted black, then coated with Ranger Ink -Crackle Accents for an eerie cracked effect. It looks fabulous in person - but you'll just have to trust me on this.
NOTE - Hat Band Shaker is a Special Request
I altered the hat band to be a shaker. This was a special request. Typically the hat band is one piece. I wanted two pieces to make a shaker.
Creative Embellishments is great at trying to accommodate special requests if possible and reasonable.
The shaker mix inside is a combination of buttons from Buttons Galore and More, plus some of their new Doo Dadz shaker mix.
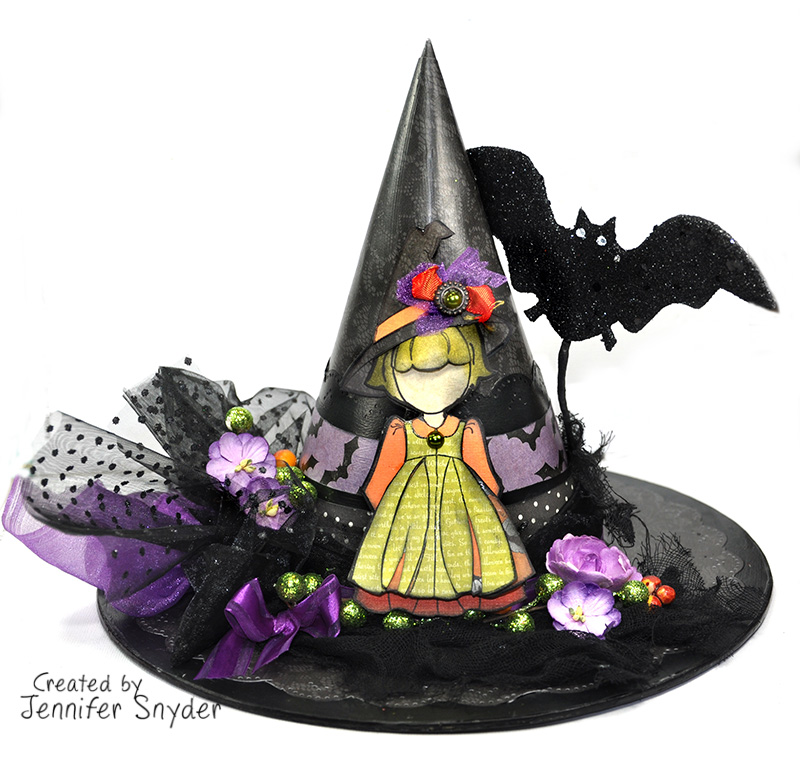
It's Halloween and Time for some Home Decor - With Julie Nutting/Prima and PhotoPlay
I created this witch hat using Julie Nutting's new die and stamp set from Prima. I combined it with PhotoPlay Papers Bootiful Collection. The colors in the collection make for perfectly festive fun home decor pieces.
This started as a plain paper mache hat that needed to be gussied up. I grabbed this at a great discount from Joann's - part of the new Fab Lab collection.
I had a few options for decorating my hat. I could paint the entire thing, or use paper. I chose paper because I love the PaperPlay Bootiful collection. However it's way too difficult to paper something with such precision without edges and crevices showing. Impossible for me at least.
Painting the edges and crevices BEFORE papering and decorating helps eliminate the stress of perfection. That's what I did. I painted the edges of the hat, the tip of the hat, and the underside of the hat. I absolutely did not want to bother decorating and wasting paper on the underside of the hat.
After the paint is dry, I went ahead and added paper to the hat.
Creating a Template to Start the Decorating Process
I have to admit that when I started the decorating phase of this project, I was certain it would be super easy and quick to cover the cone on the hat. Heck , how difficult can it be? And how difficult can it possibly be to make a hat band as well?
Wrong, wrong wrong. I was so wrong. It was not easy. In fact it was frustrating as all heck. But I have this quick technique I use when I am working with odd shapes, paper mache and wood pieces. My template process is a snap and takes the frustration out of the paper crafting process - at least for me.
I have a super quick 2 min video that will help provide some tips when working with paper mache and tips on how to make easy templates in a flash.
The doll die is much taller than I wanted so I cut her legs off. Sorry little darlin' but I had to do it!
In order to make her be a sturdy and durable embellishment on my hat, she is 3 layers thick. I cut 3 layers, glued them together and then decorated the top layer. Then I added a layer of black foam to her in order to attach her to the hat. The foam adds a nice dimensional layer between the hat and the doll.
You can see the foam in the photo below ( near the bottom of the doll).
In order to protect the paper hat from moisture, I coated the entire hat with Mod Podge in a matte finish - even the under side.
Looking down on the hat....
Thanks for stopping.
Products Used:
Prima - Julie Nutting - Halloween - Cling Mounted Stamps and Metal Die Set - Lil Witch -911614
PhotoPlay Paper - Bootiful Collection 12x12 paper Paper Mache Witch Hat - JoAnn's Fab Lab collection Black Cardstock Black Acrylic Paint Mod Podge - Matte Finish Ribbon






 .
.